Over the years I’ve tried a few systems of floss organization. For years, I used the little cards that you wind the floss around, and keep in small plastic boxes. This system had the advantage of being neat and portable. But there’s a fair bit of work in winding the floss. The reason I abandoned this system in the end was the way it creases the floss – particularly as you get near the end of a skein.
Over the past few years, I’ve used the StitchBow system from DMC and I’m really loving the way it works. I use 3″ binders to store my floss collection.
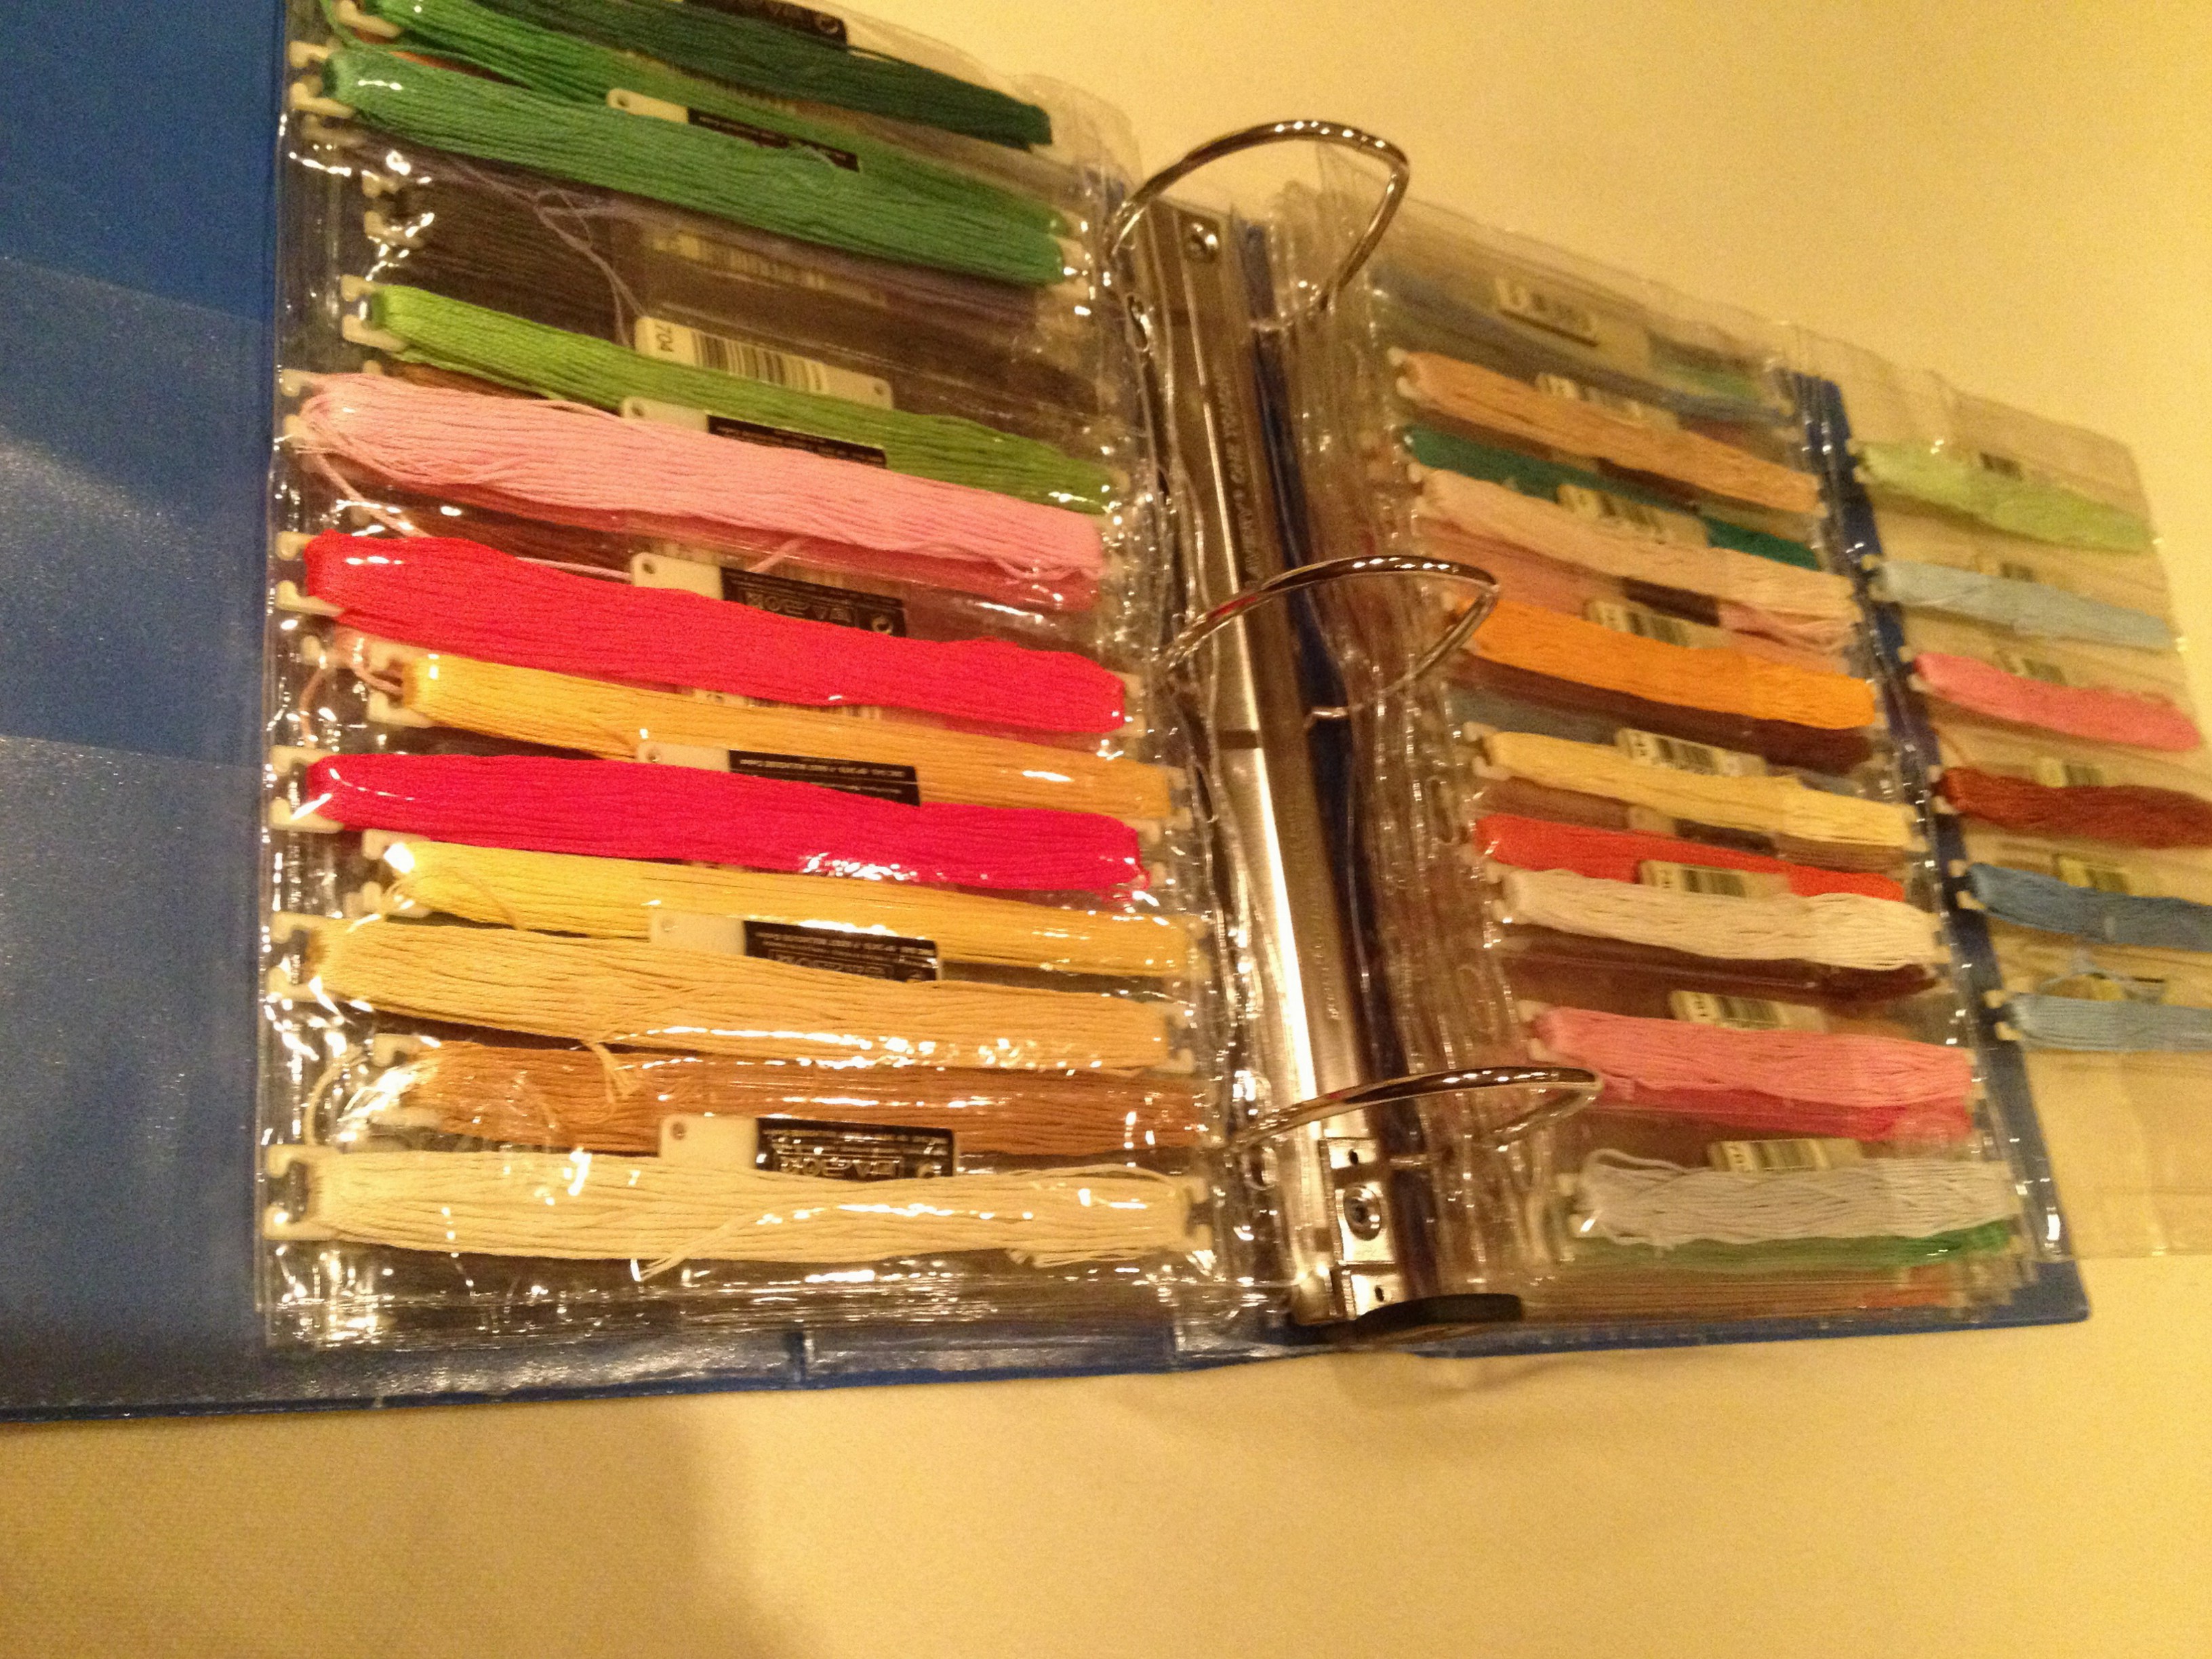
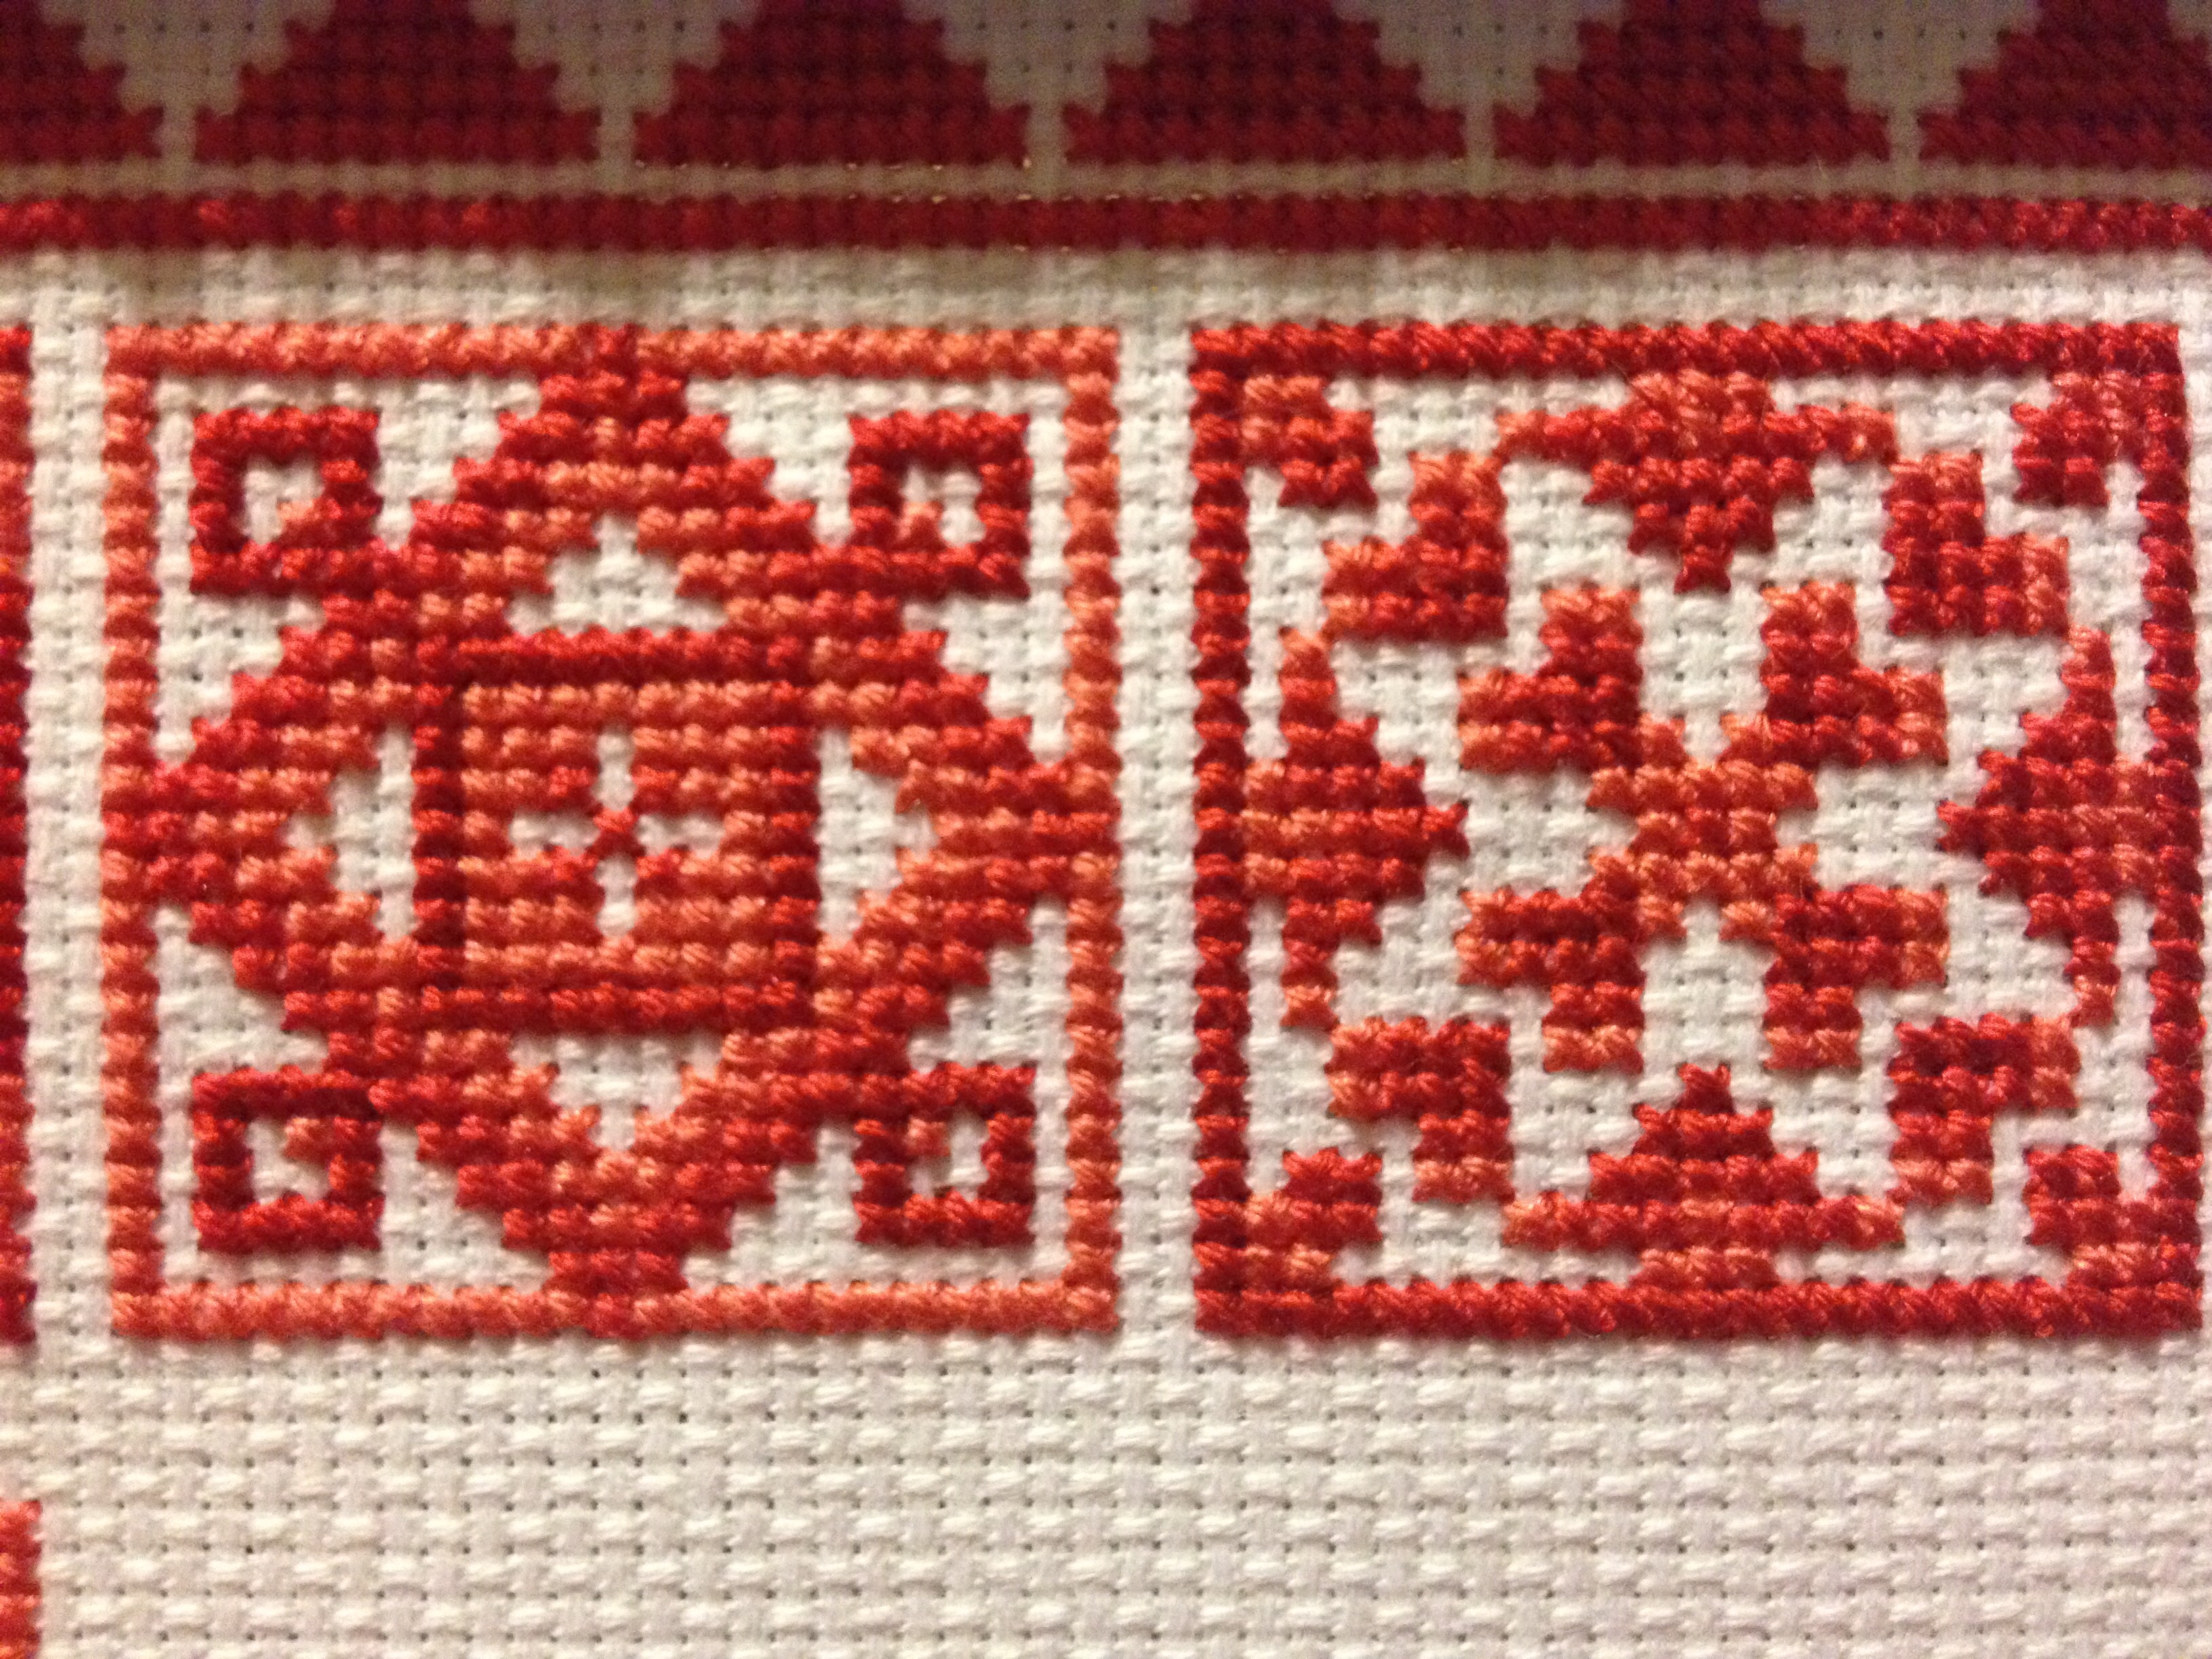
embroidery floss in a 3″ binder

my embroidery floss binder
The plastic stitchbows themselves are inexpensive and quite easy to use – you transfer the floss directly onto them without having to wind it, and the labels with the color ID number are easily inserted.
Once on the stitchbow, the floss slides easily in and out of the plastic binder sleeves. I leave extra sleeves in my binder and space out my existing floss so it’s easy to add new as I purchase.
Another advantage to this system is that the floss is transferred easily into a project binder. Like many, I prefer to work on several projects at once. I keep each project in a “go bag” (more on that in a later post) so when I sit down to stitch, I can easily grab the project I want and everything I need for that project is at my fingertips. Having small children, this system keeps projects accessible to me, but out of reach of little fingers…
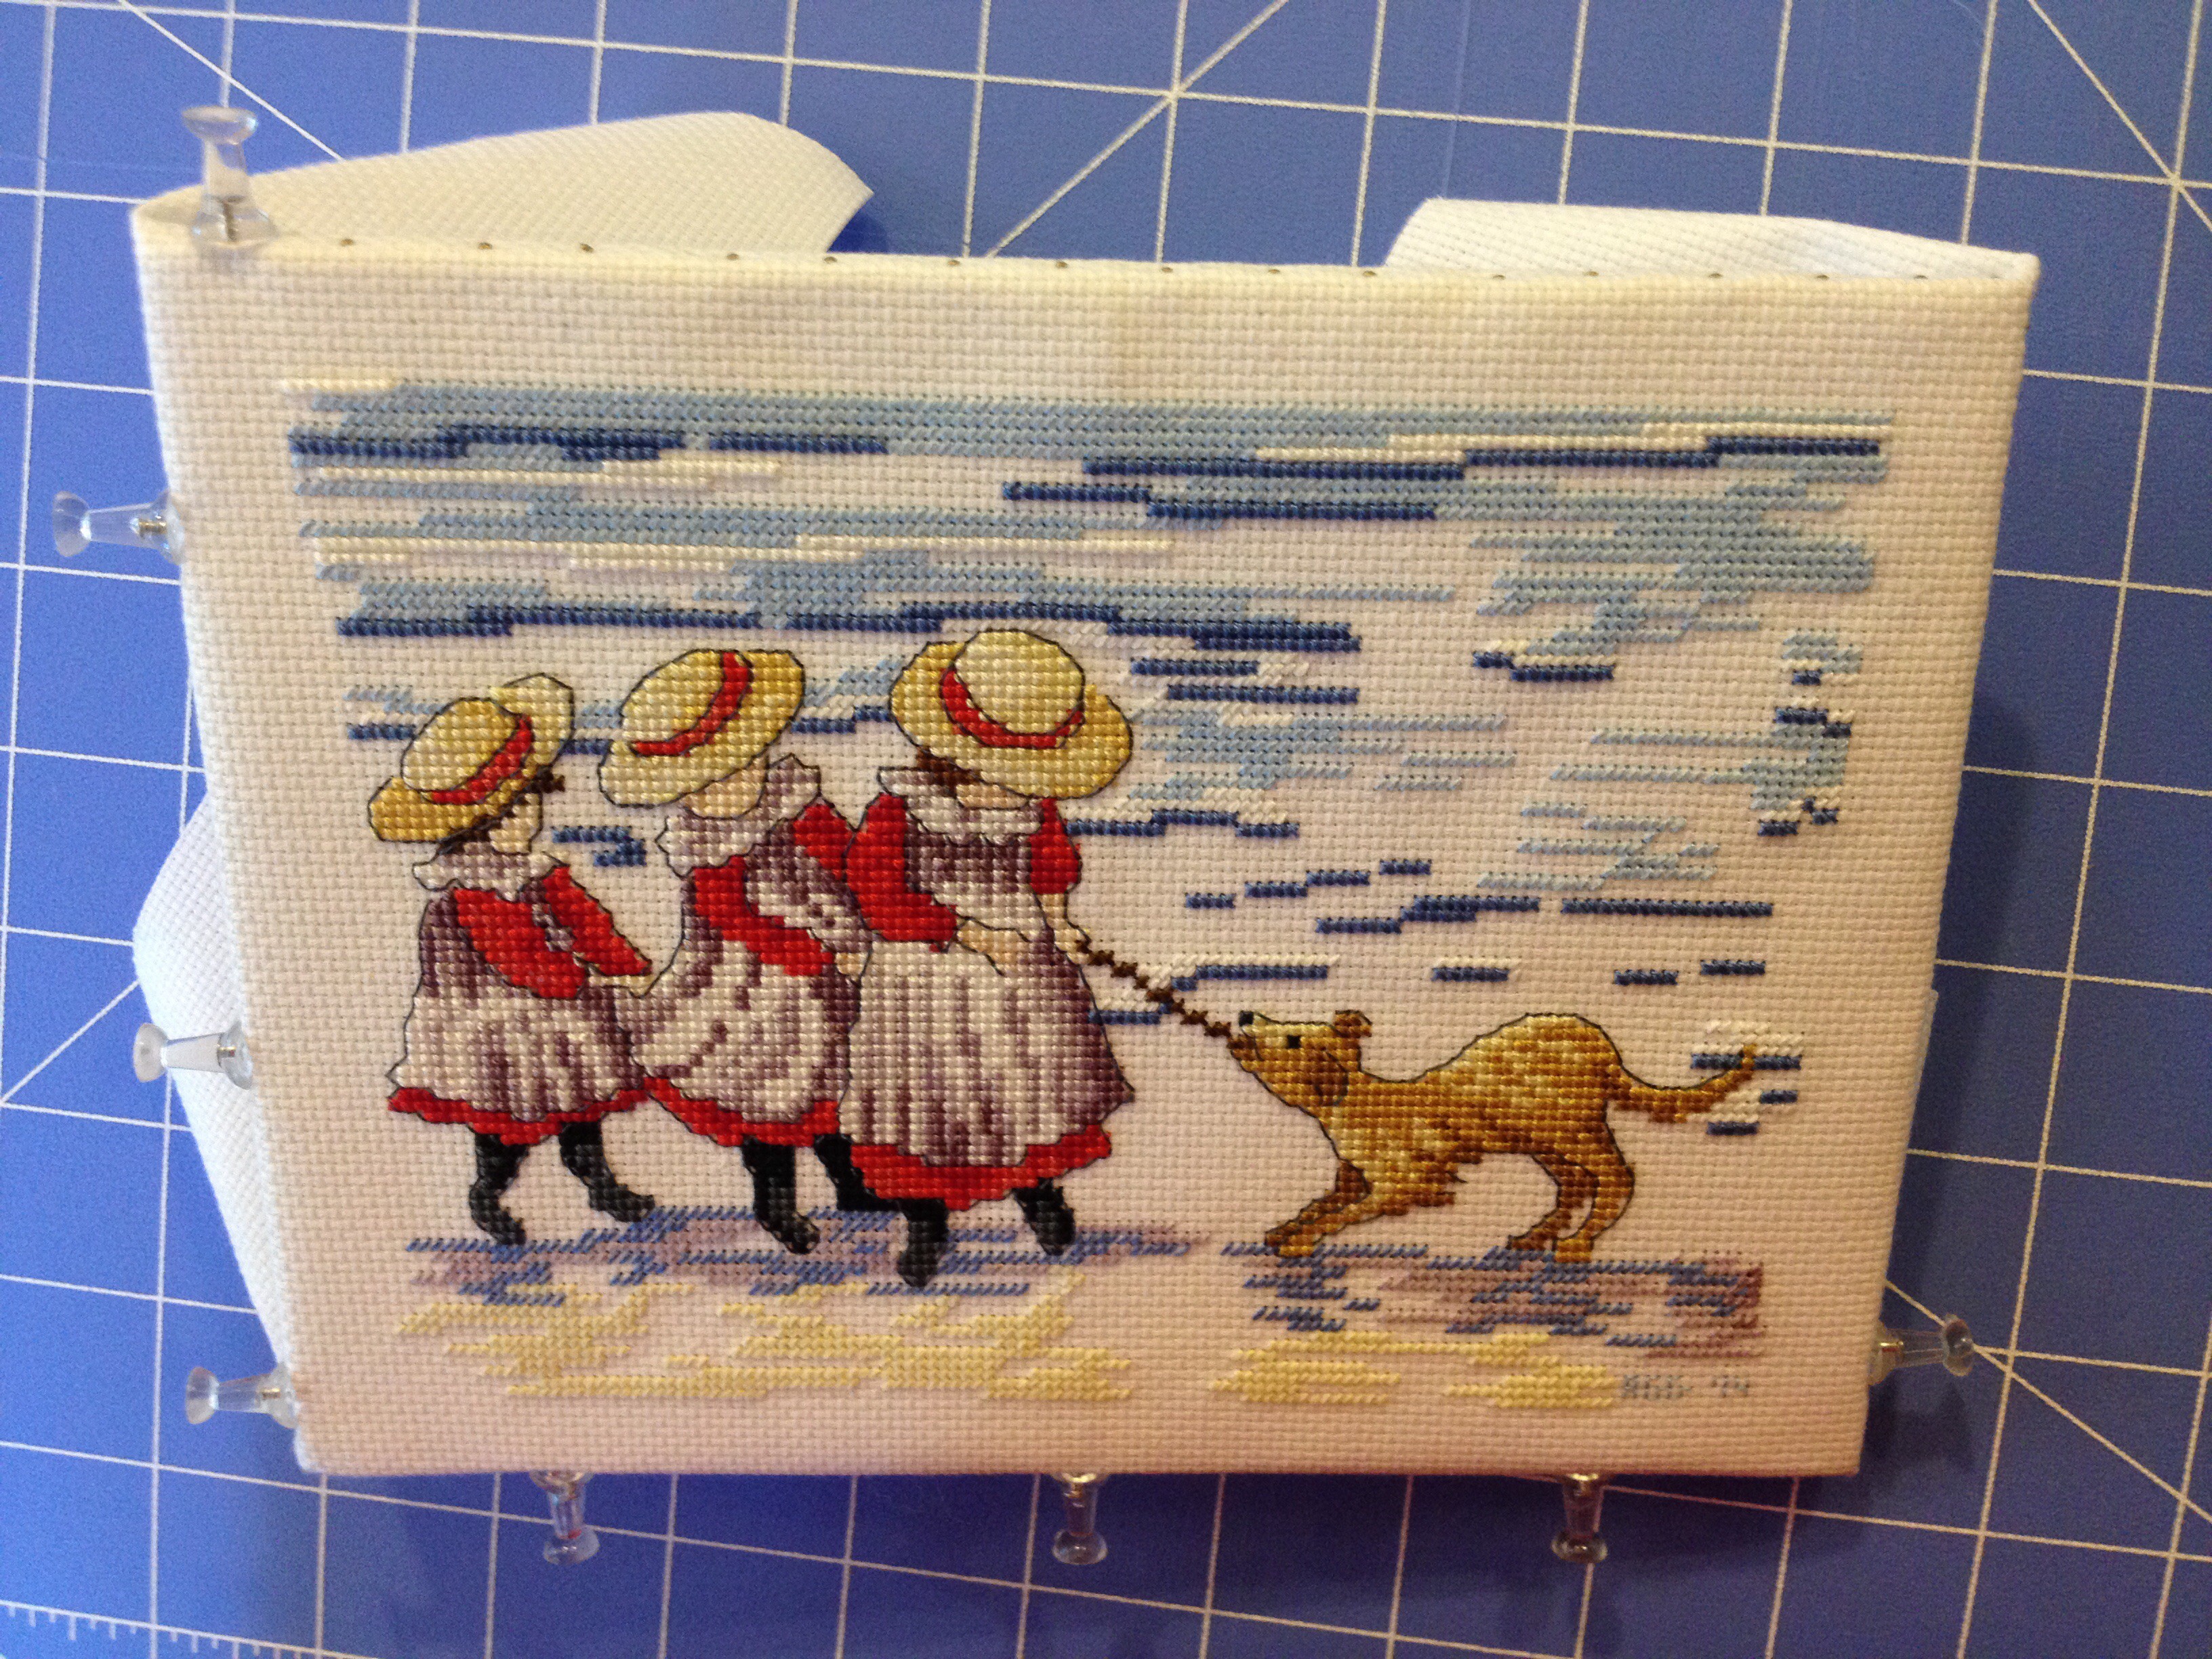
As I was saying, each project bag has the needed floss. Depending on how many colors and the size of the pattern, I often keep these in a smaller binder in my go bag. Here’s an example.
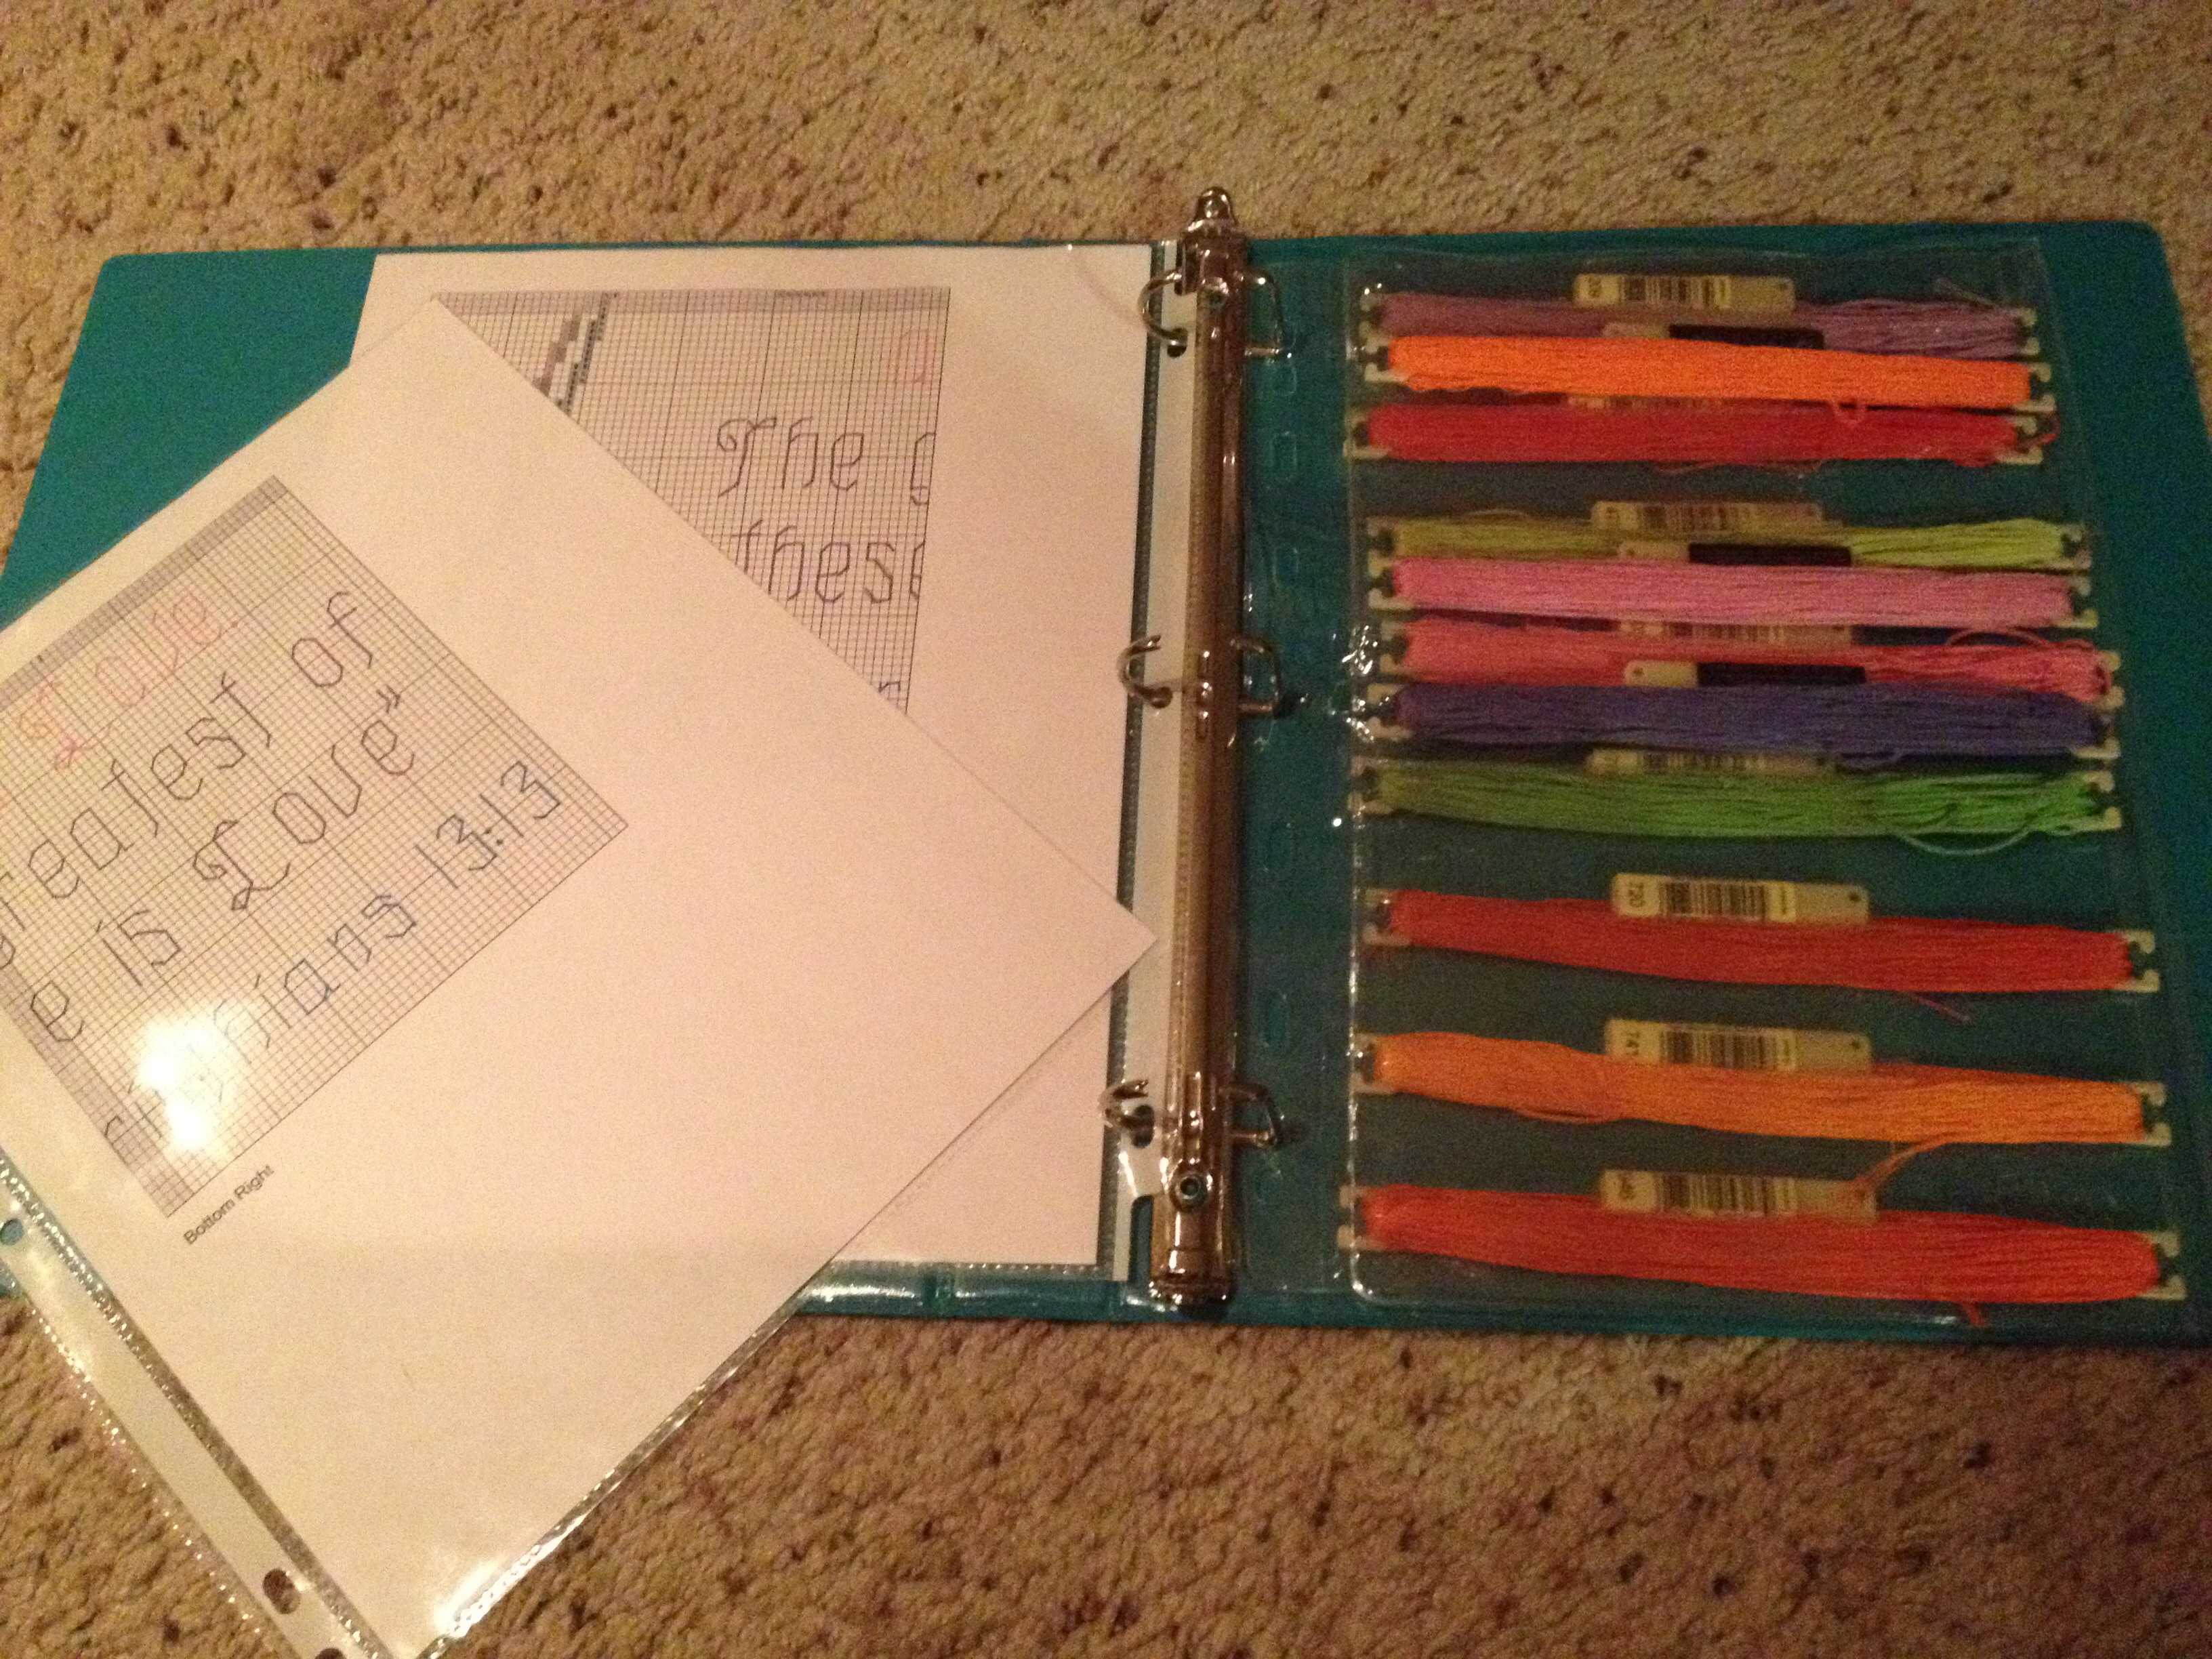
a project binder with pattern and floss inserts

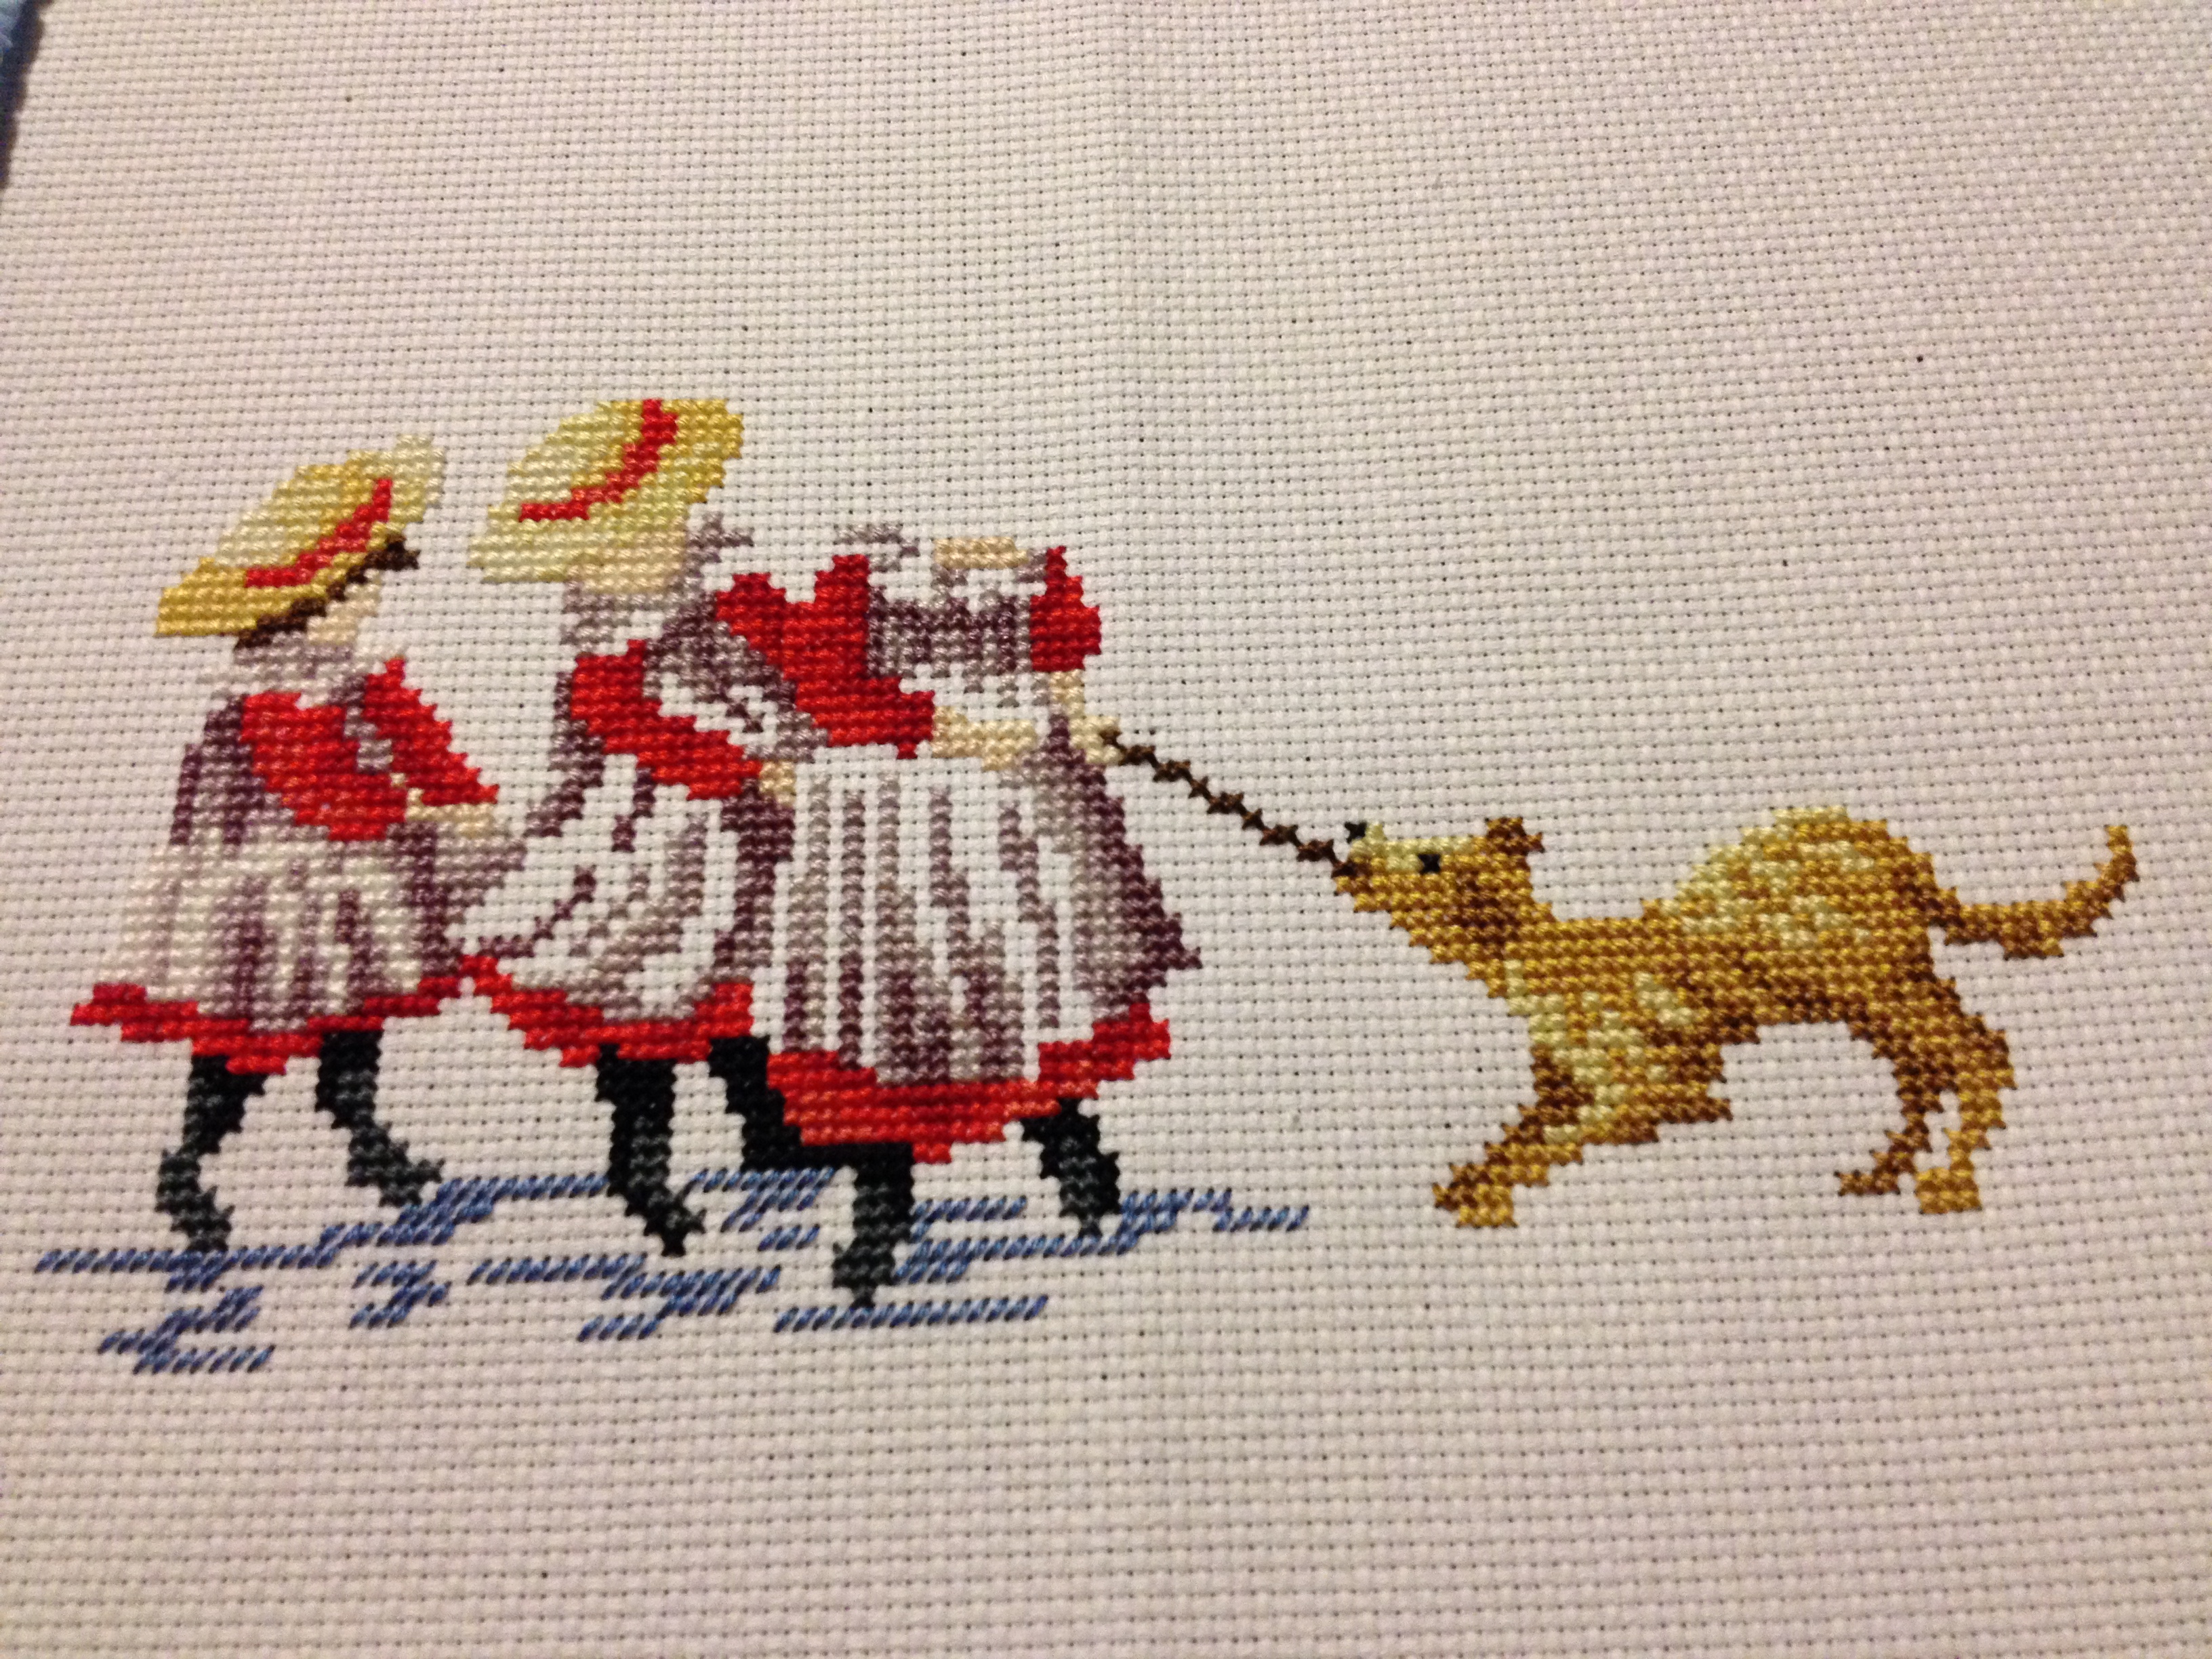
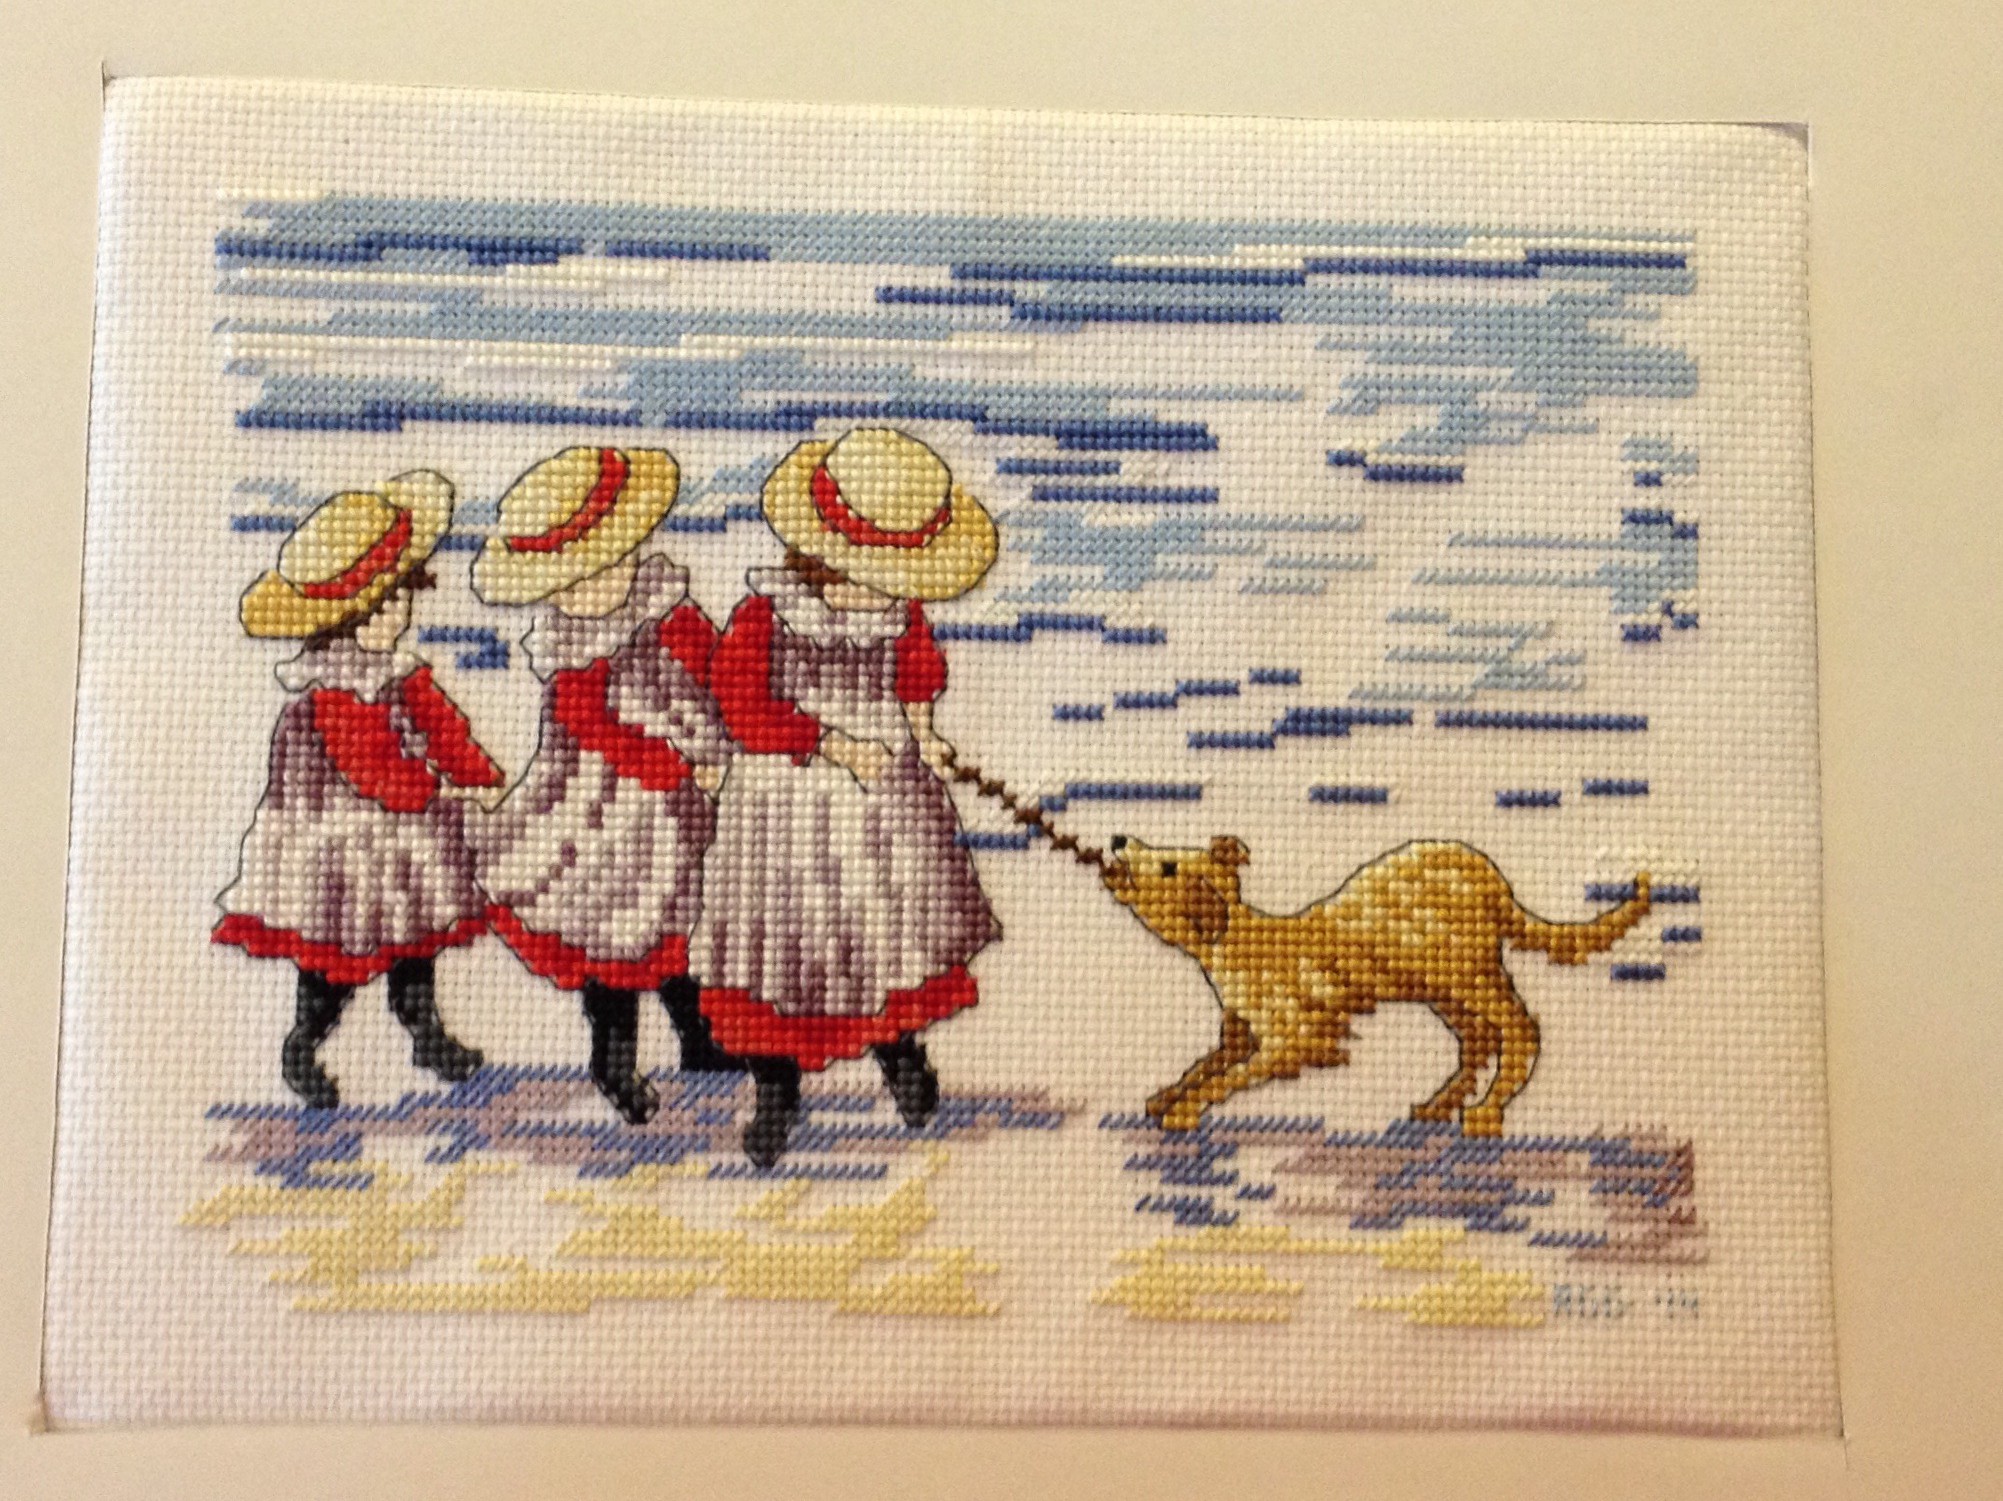
the front cover: usually an image of the project or instructions
Of course small projects don’t necessarily need a binder. More on individual project organization and floss binders in a later post.
So that’s my system. I’d love to hear what works for you!