WIP Wednesday: Heart of Christmas

Time for an update!  I set this cross stitch project down for May and most of June, but I’ve picked it up again over the past few weeks.  Previous posts about Heart of Christmas can be found here and here.

This is Heart of Christmas by Stoney Creek stitched over 2 on Stoney Creek Clear Sky Dyed Fabric 28 ct.

Heart of Christmas 7.15 4

overall progress as of today


Heart of Christmas 7.8.15 1

a closer look at Mr. Snowman


Heart of Christmas 7.15 2

patchwork heart

Advertisement

Six Ways to Fight Stitcher’s Block

Like many of life’s activities, I think that cross stitch and other creative endeavors can have seasons.  I’m not talking about calendar seasons, but seasons in life.  There are high and low periods in life when it comes to creativity.  There are also life seasons when commitments and responsibilities can simply overwhelm us and prevent us from setting aside time for hobbies.  For me, though, I know that when I don’t have a creative outlet, I miss it.  I have found that when I am tired or overwhelmed, I am not motivated to work on a project, but then because I neglect my creative needs, I end up feeling even more overwhelmed.  Because I lack energy, I miss out on the opportunity to feed my creative side, which means I end up with even less energy and motivation, and the cycle continues.


So while there will always be times when I’m simply too busy to work on creative projects like cross stitch, there are other times when if I could just pick up a project and get started, the benefits of increased energy and satisfaction would outweigh cost of the time invested.  I’ve been thinking about this a lot lately – why is it that even if I have moments all day when I wish I could pick up a hoop and needle… when the evening comes and I have the time, some days I simply can’t summon the energy to get started?  I’ve decided to label this phenomenon in my life as “stitcher’s block” and have given some thought to what might help work through it.
Here are some ideas I’ve tried over the past few months (which have been a stressful period for me).  While certainly what works for each person will be different, maybe if you ever have “stitcher’s block”, some of these might work for you!


 1. Get inspired


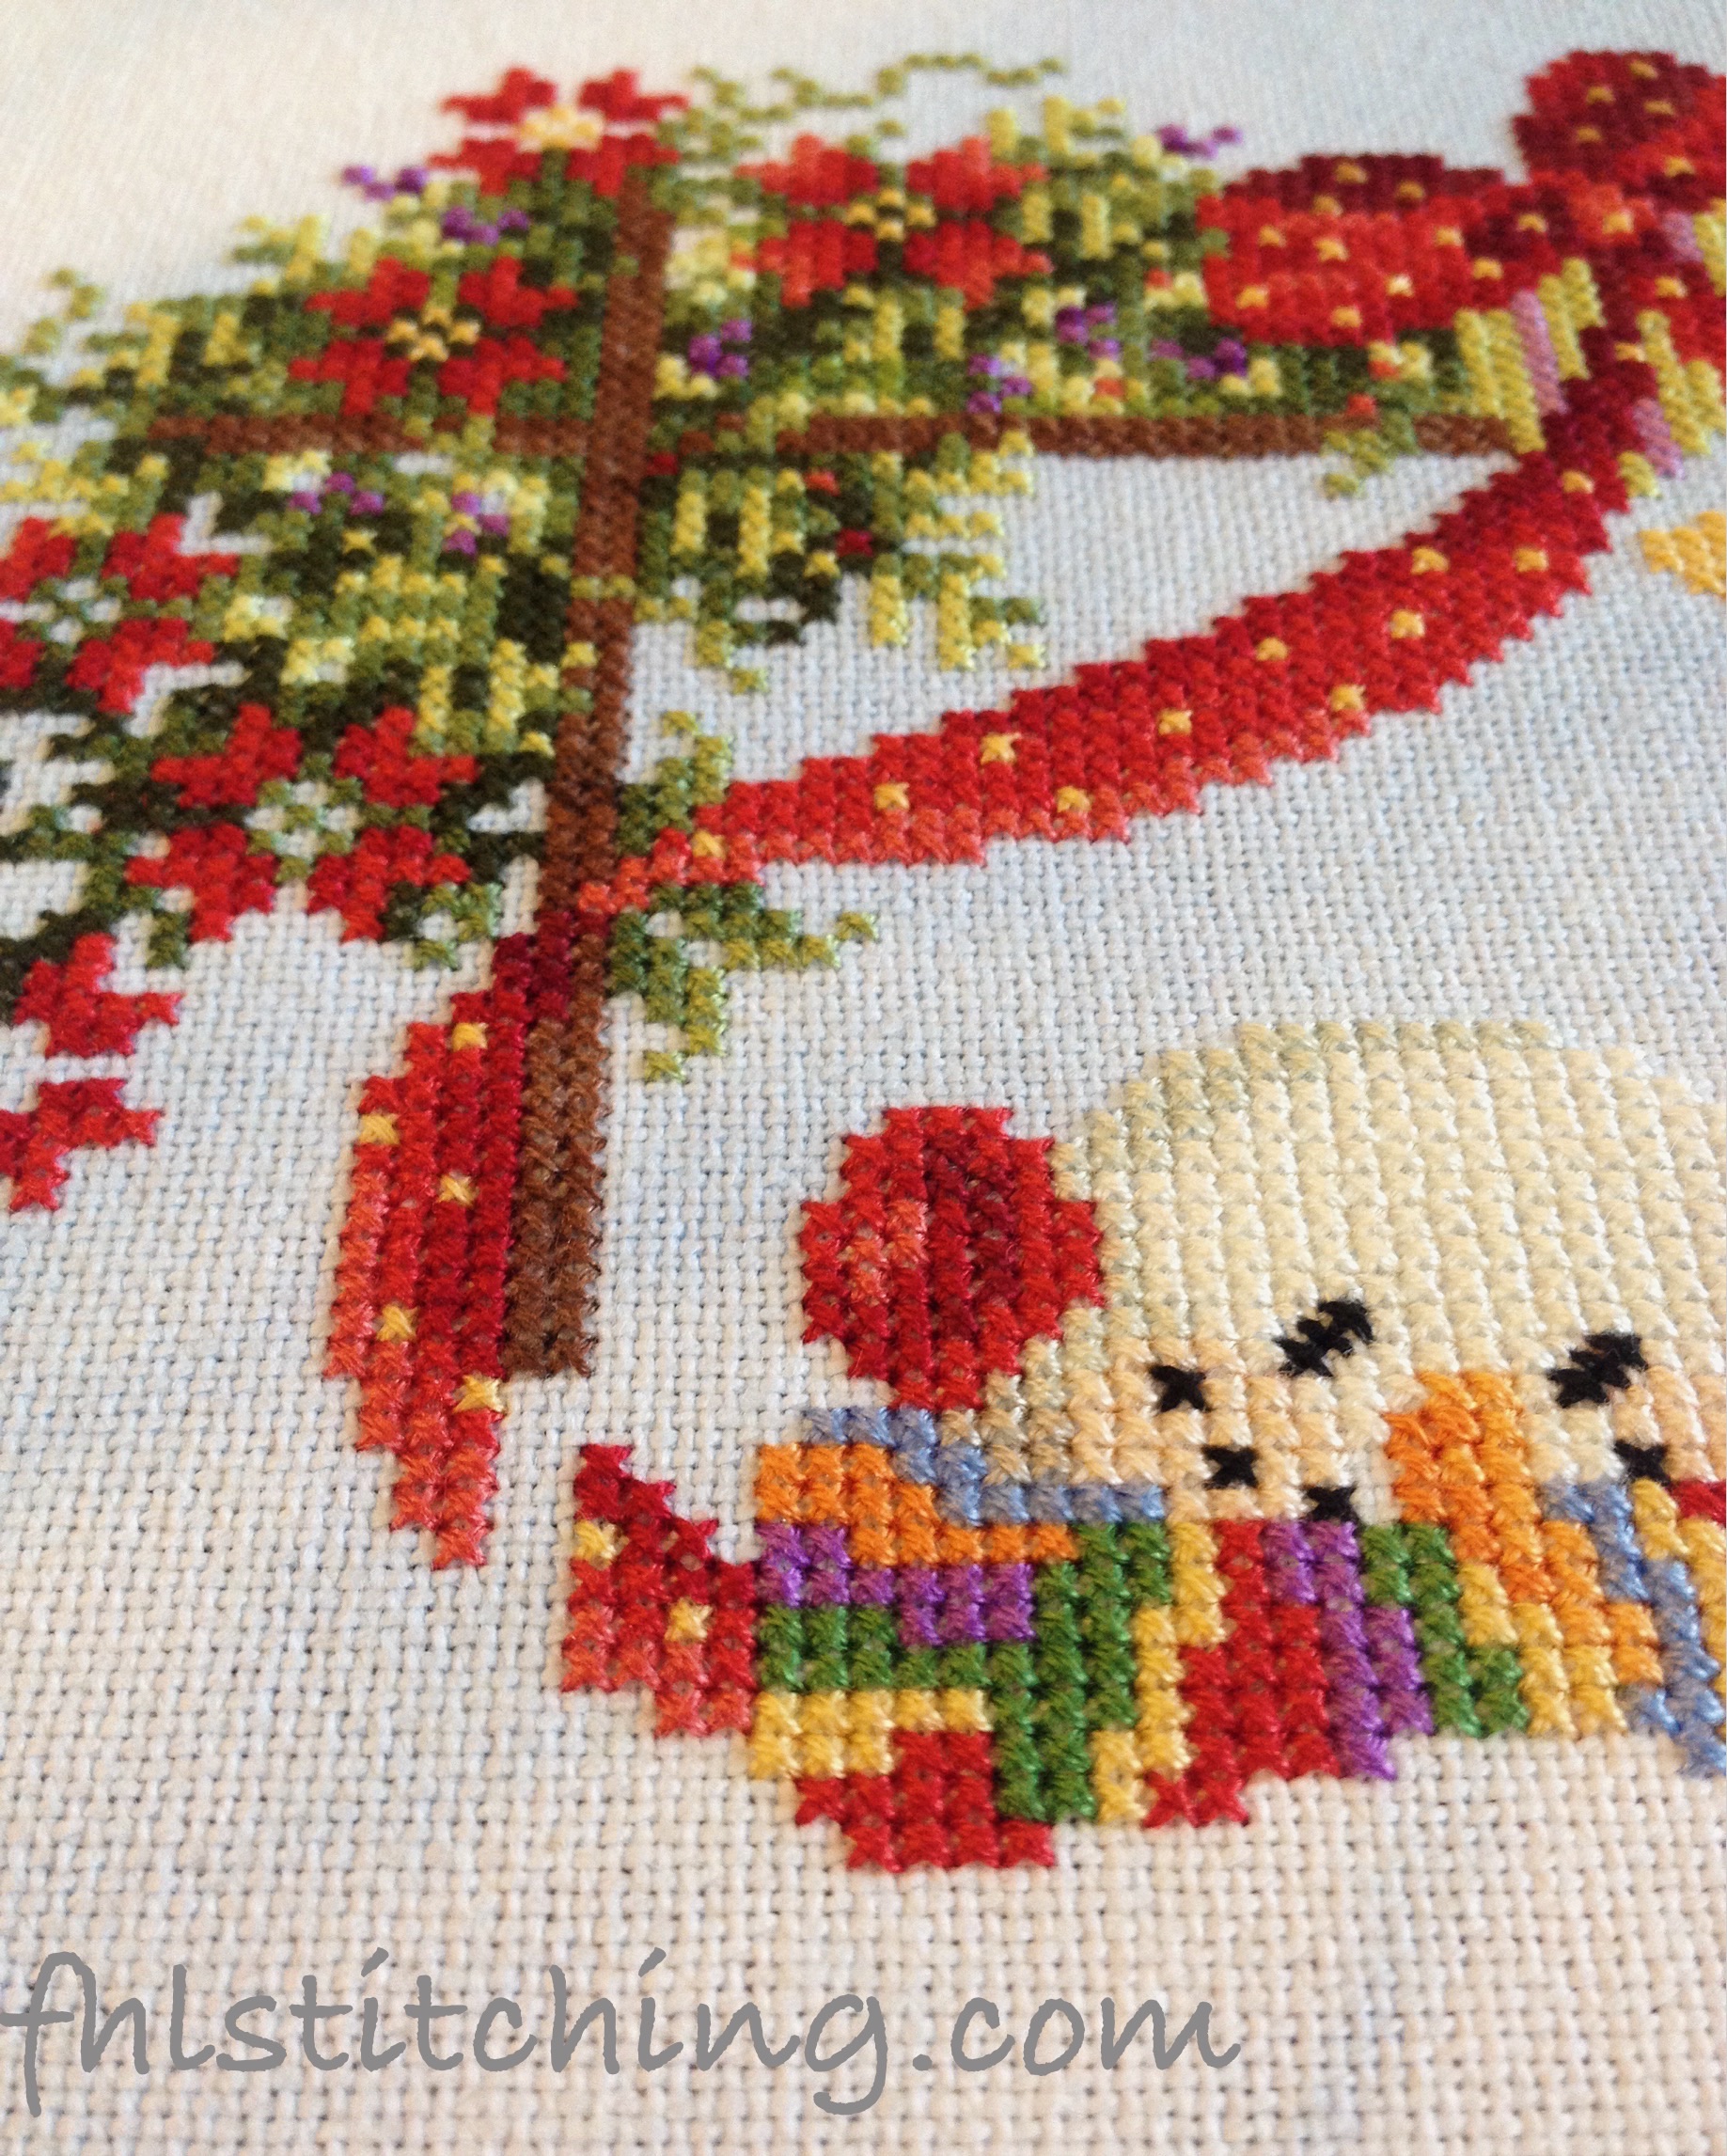
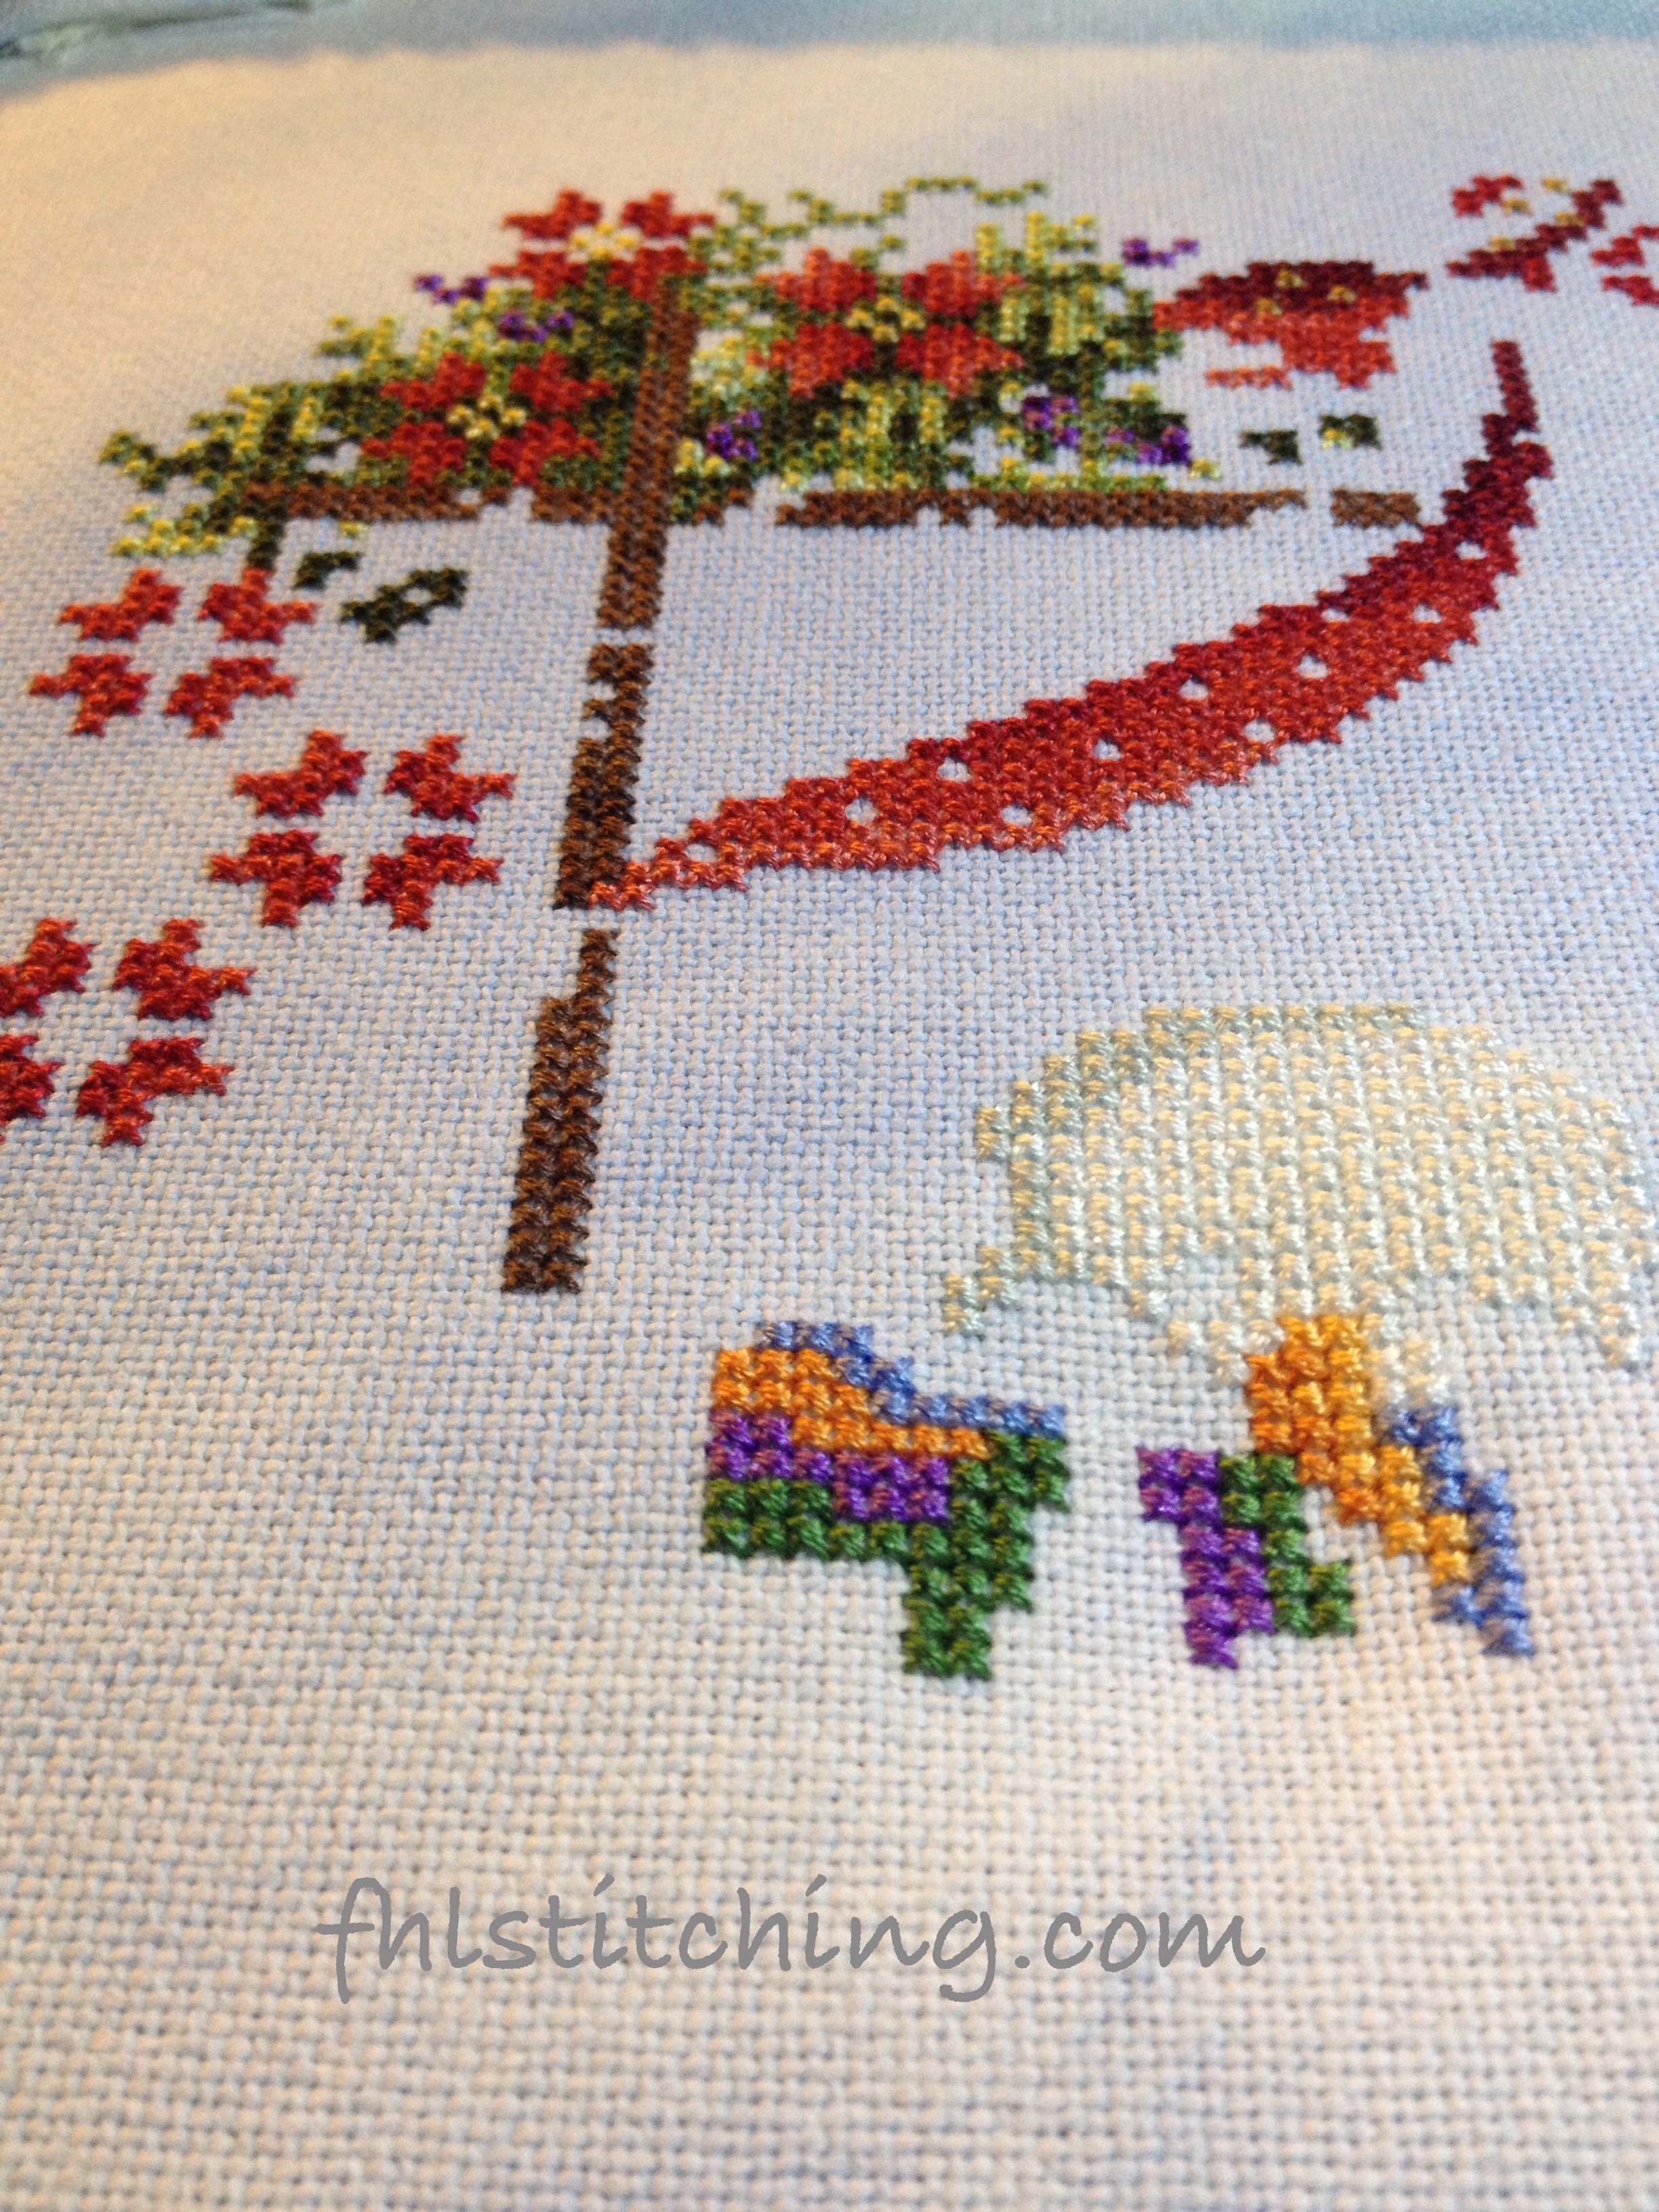
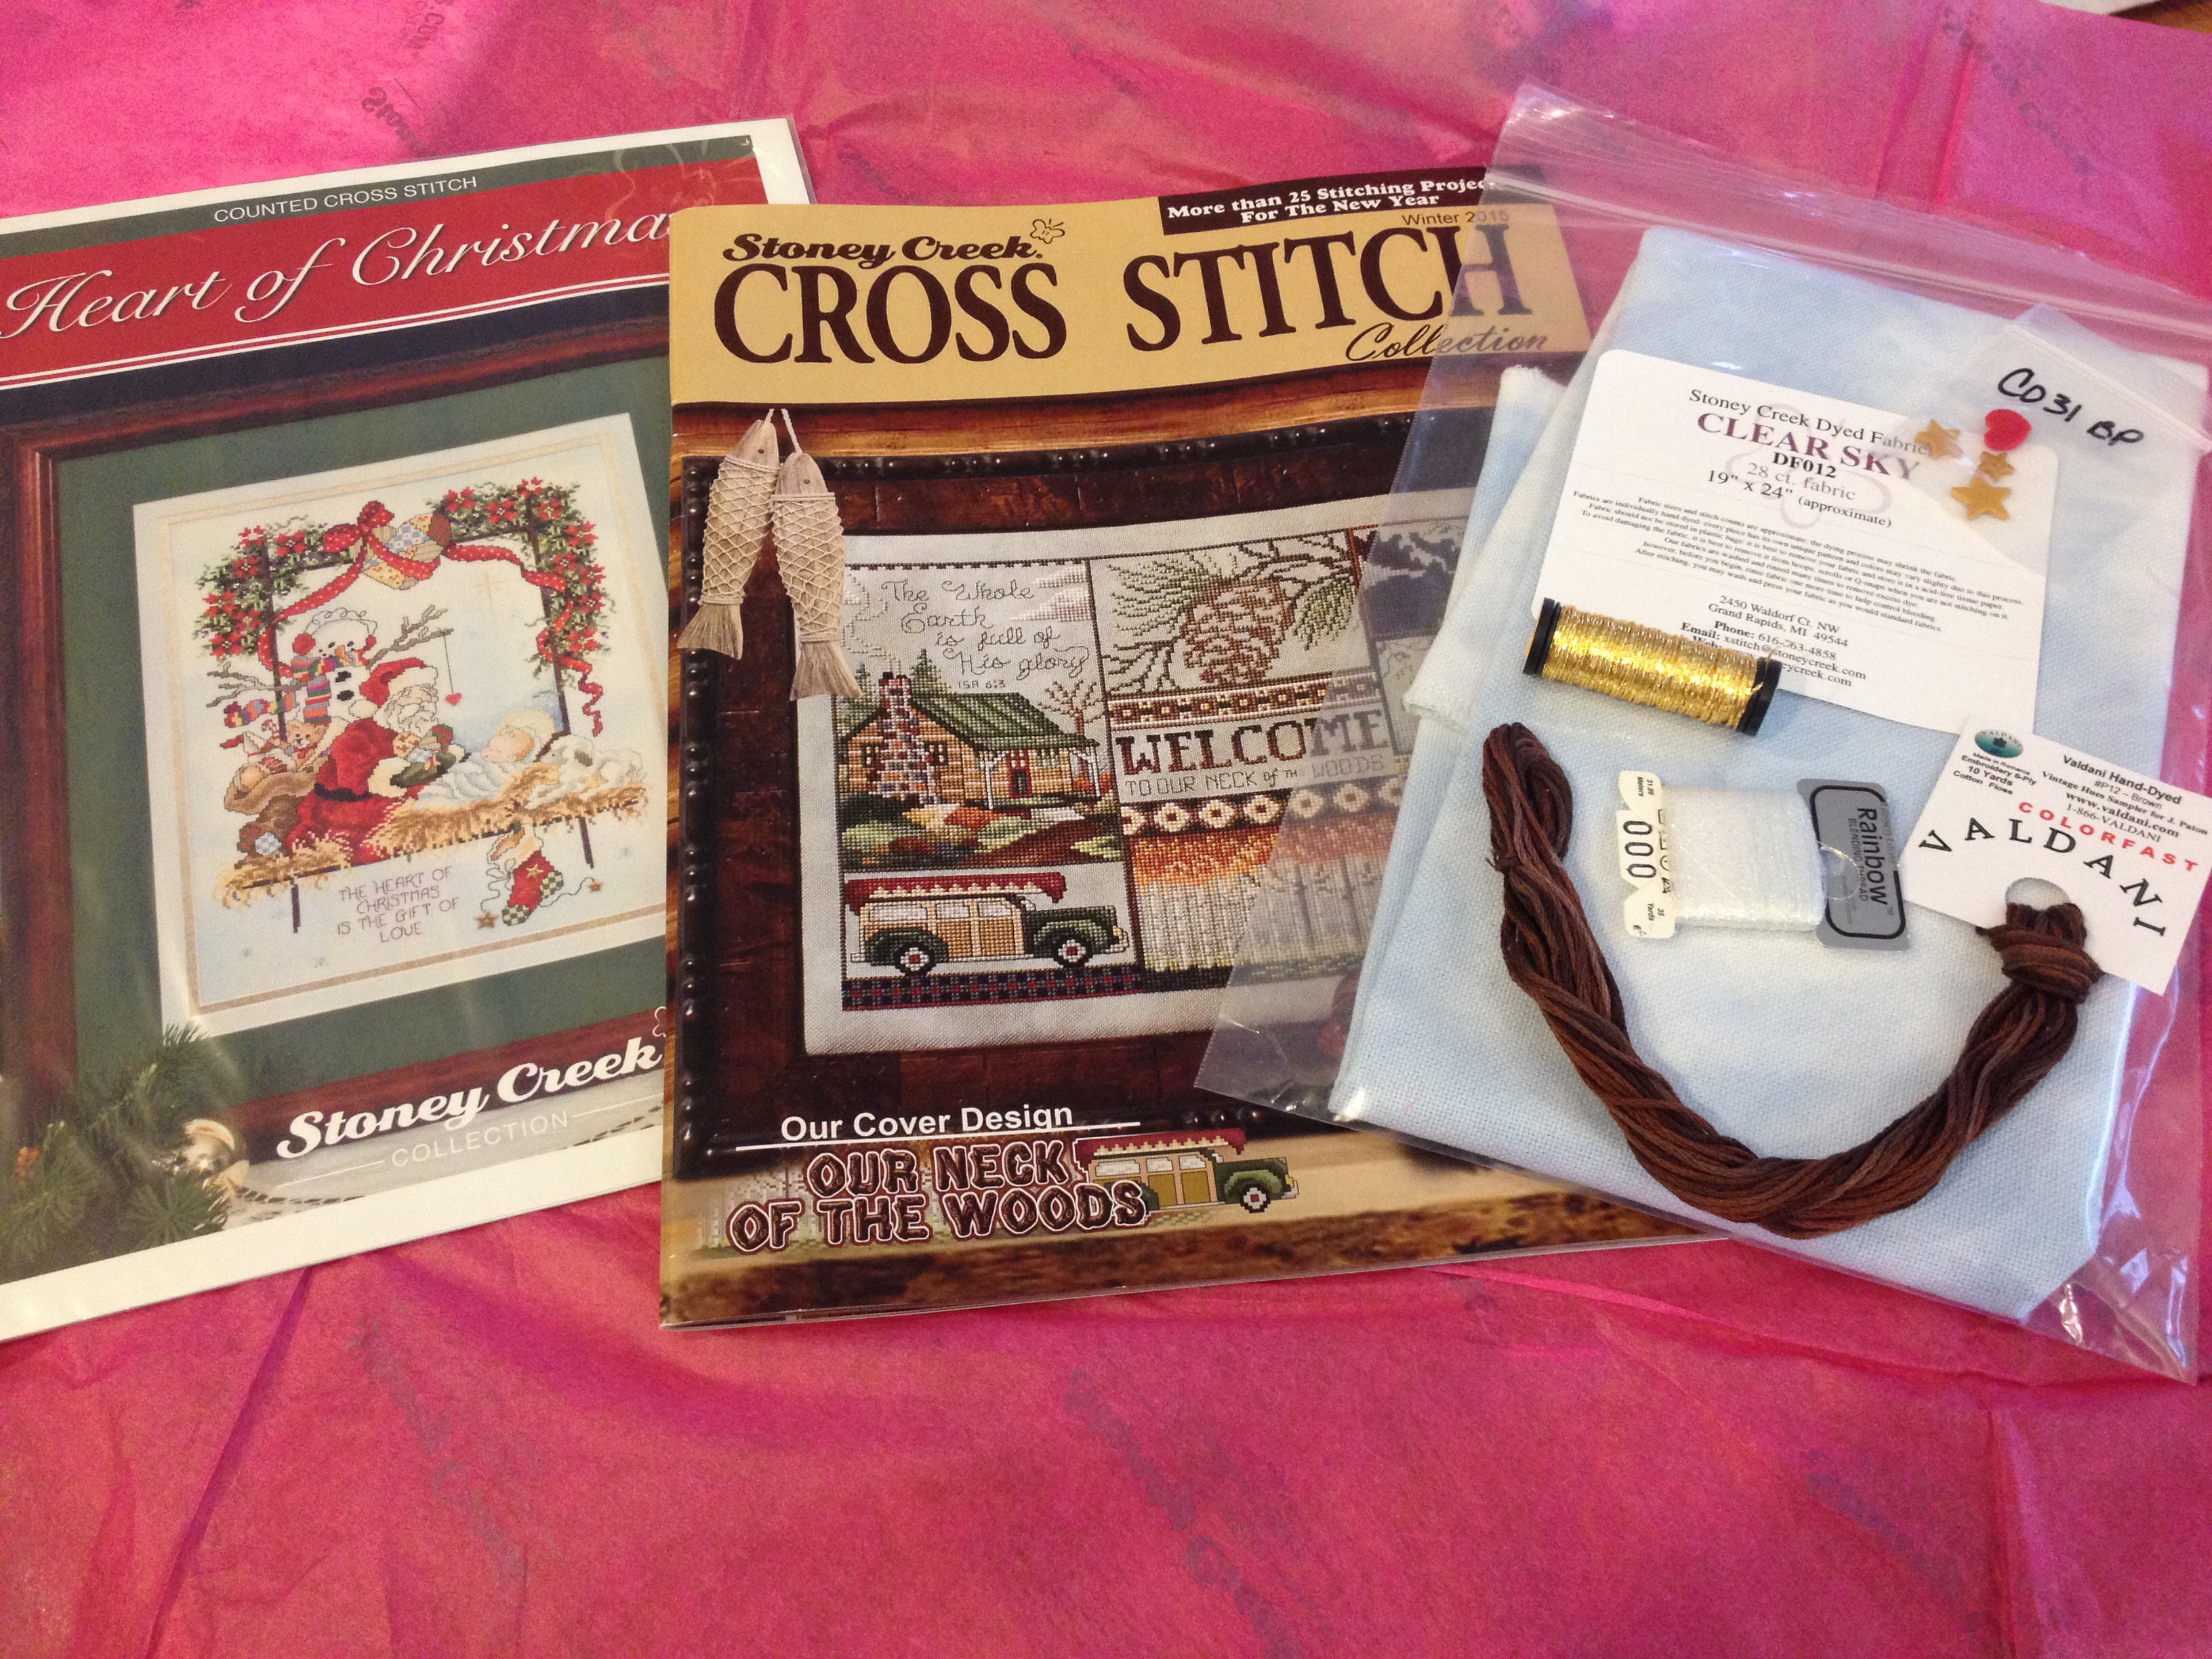
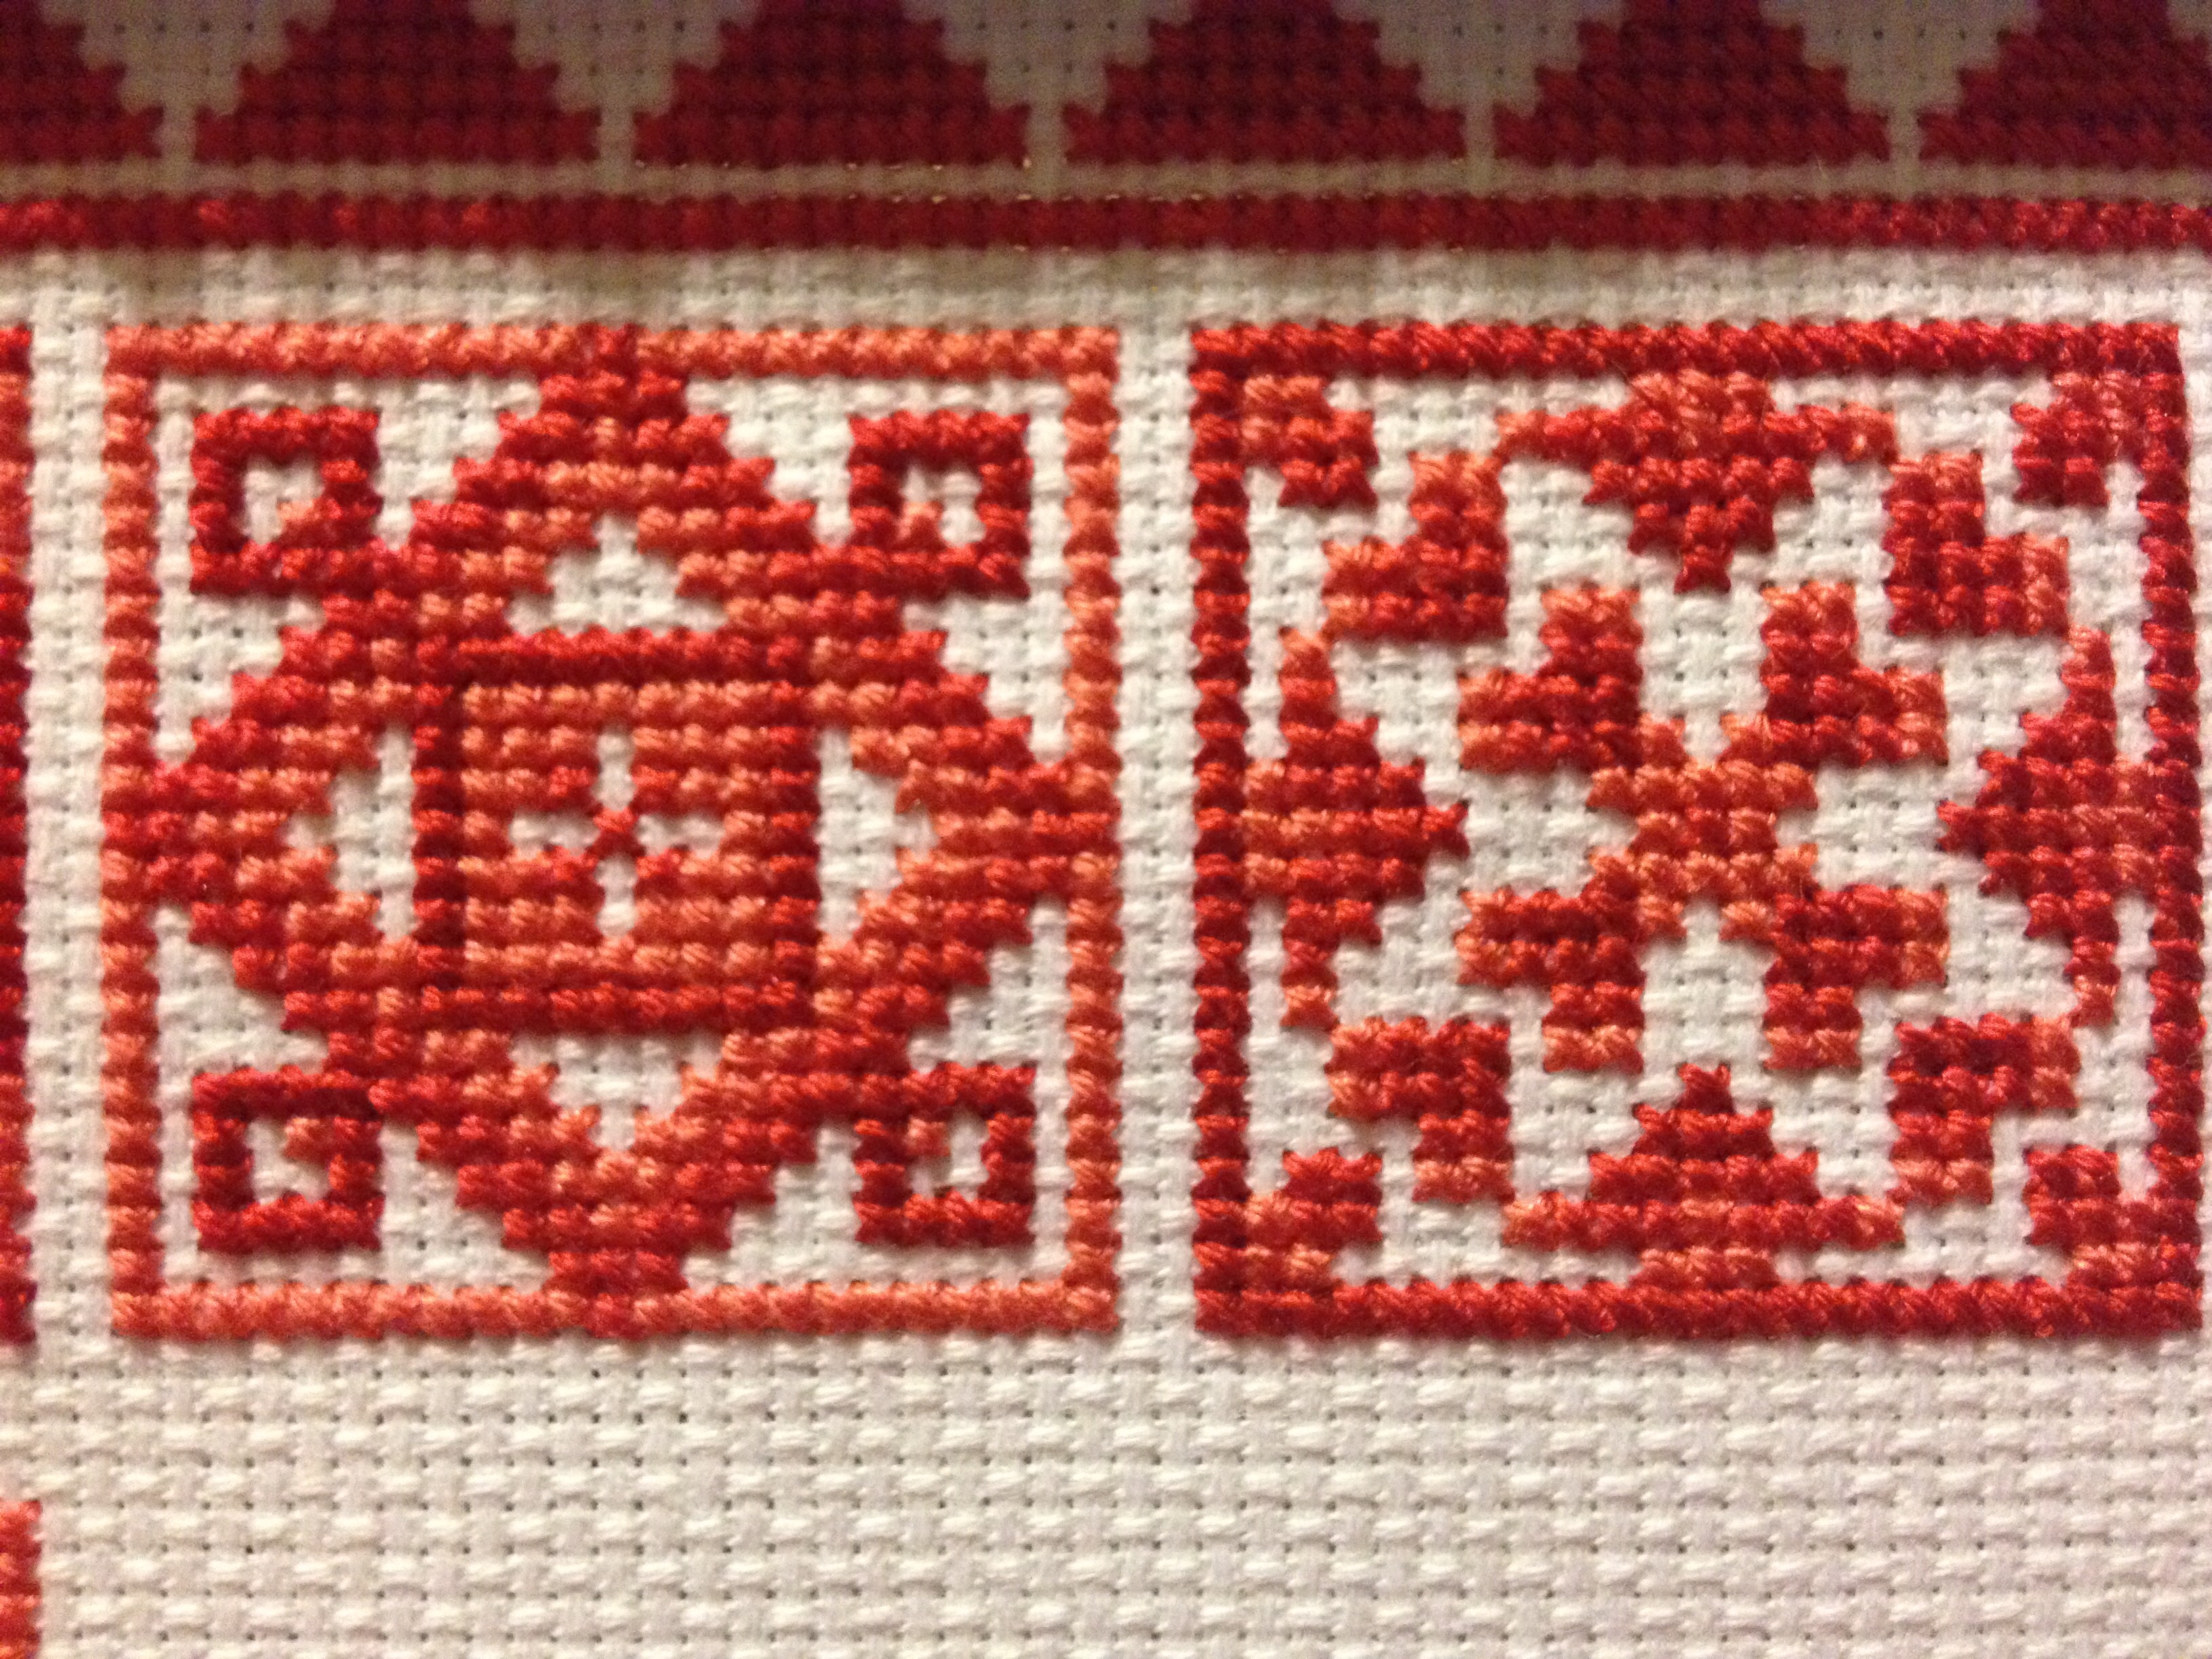
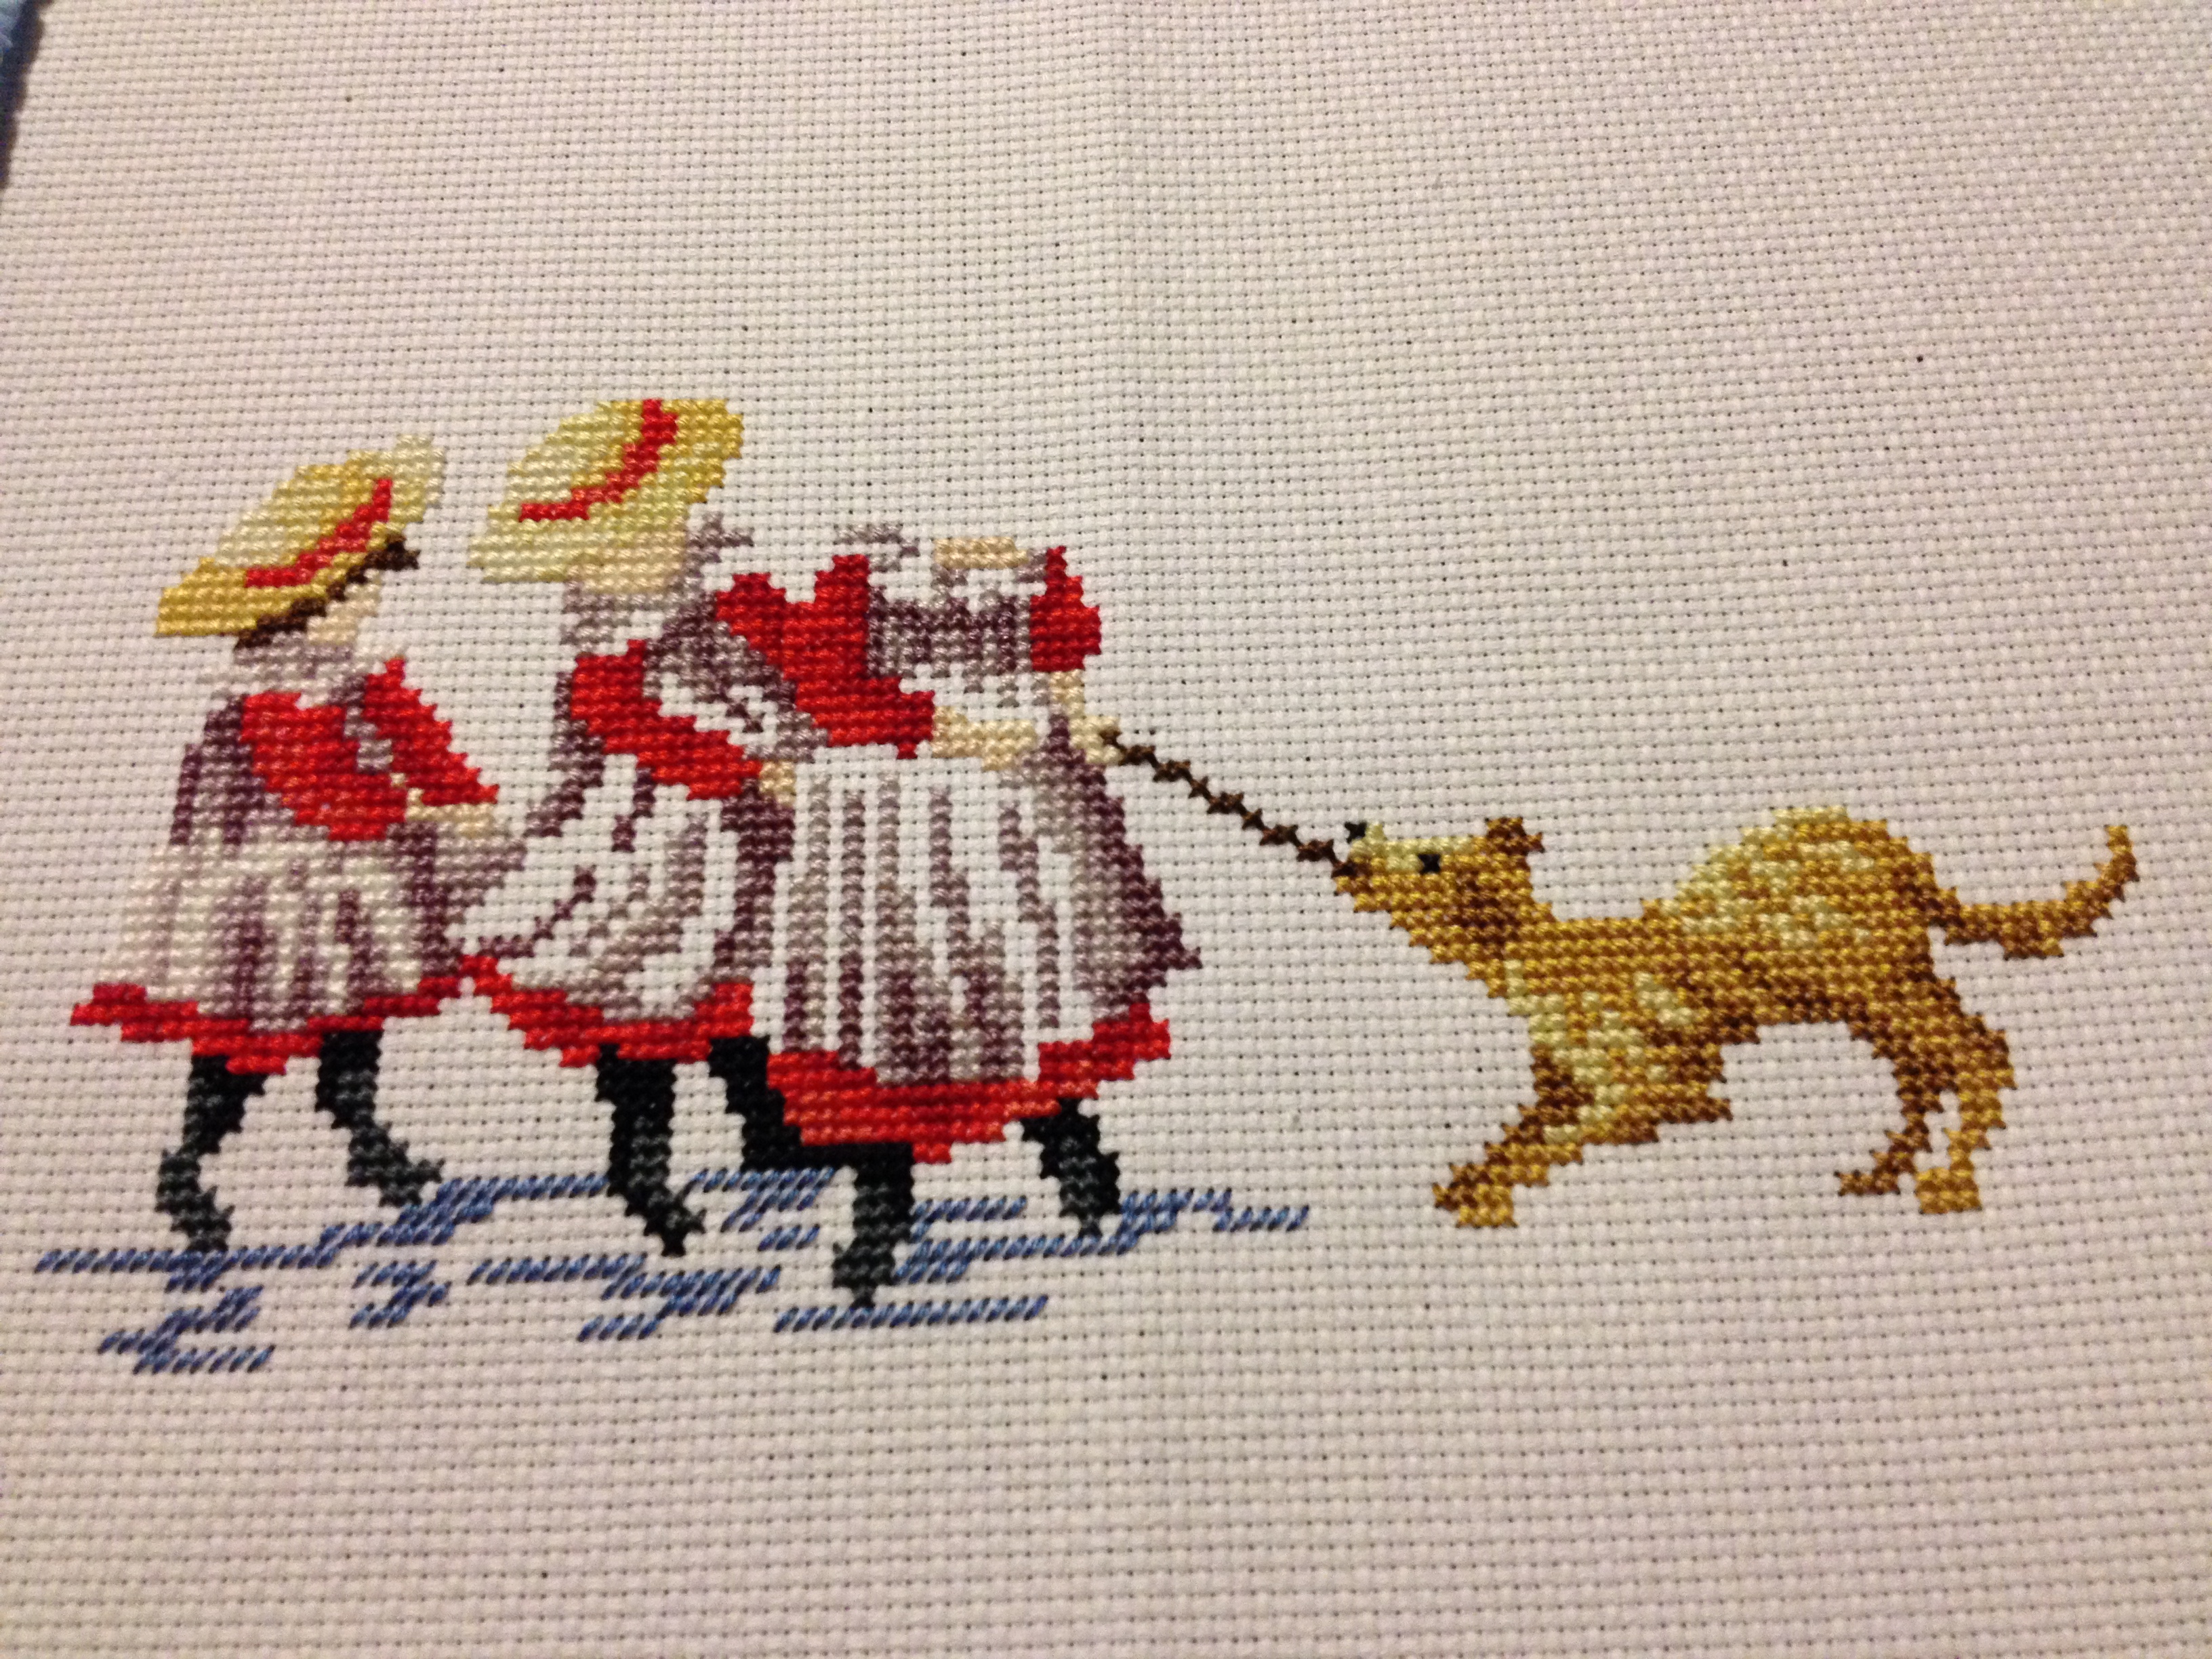
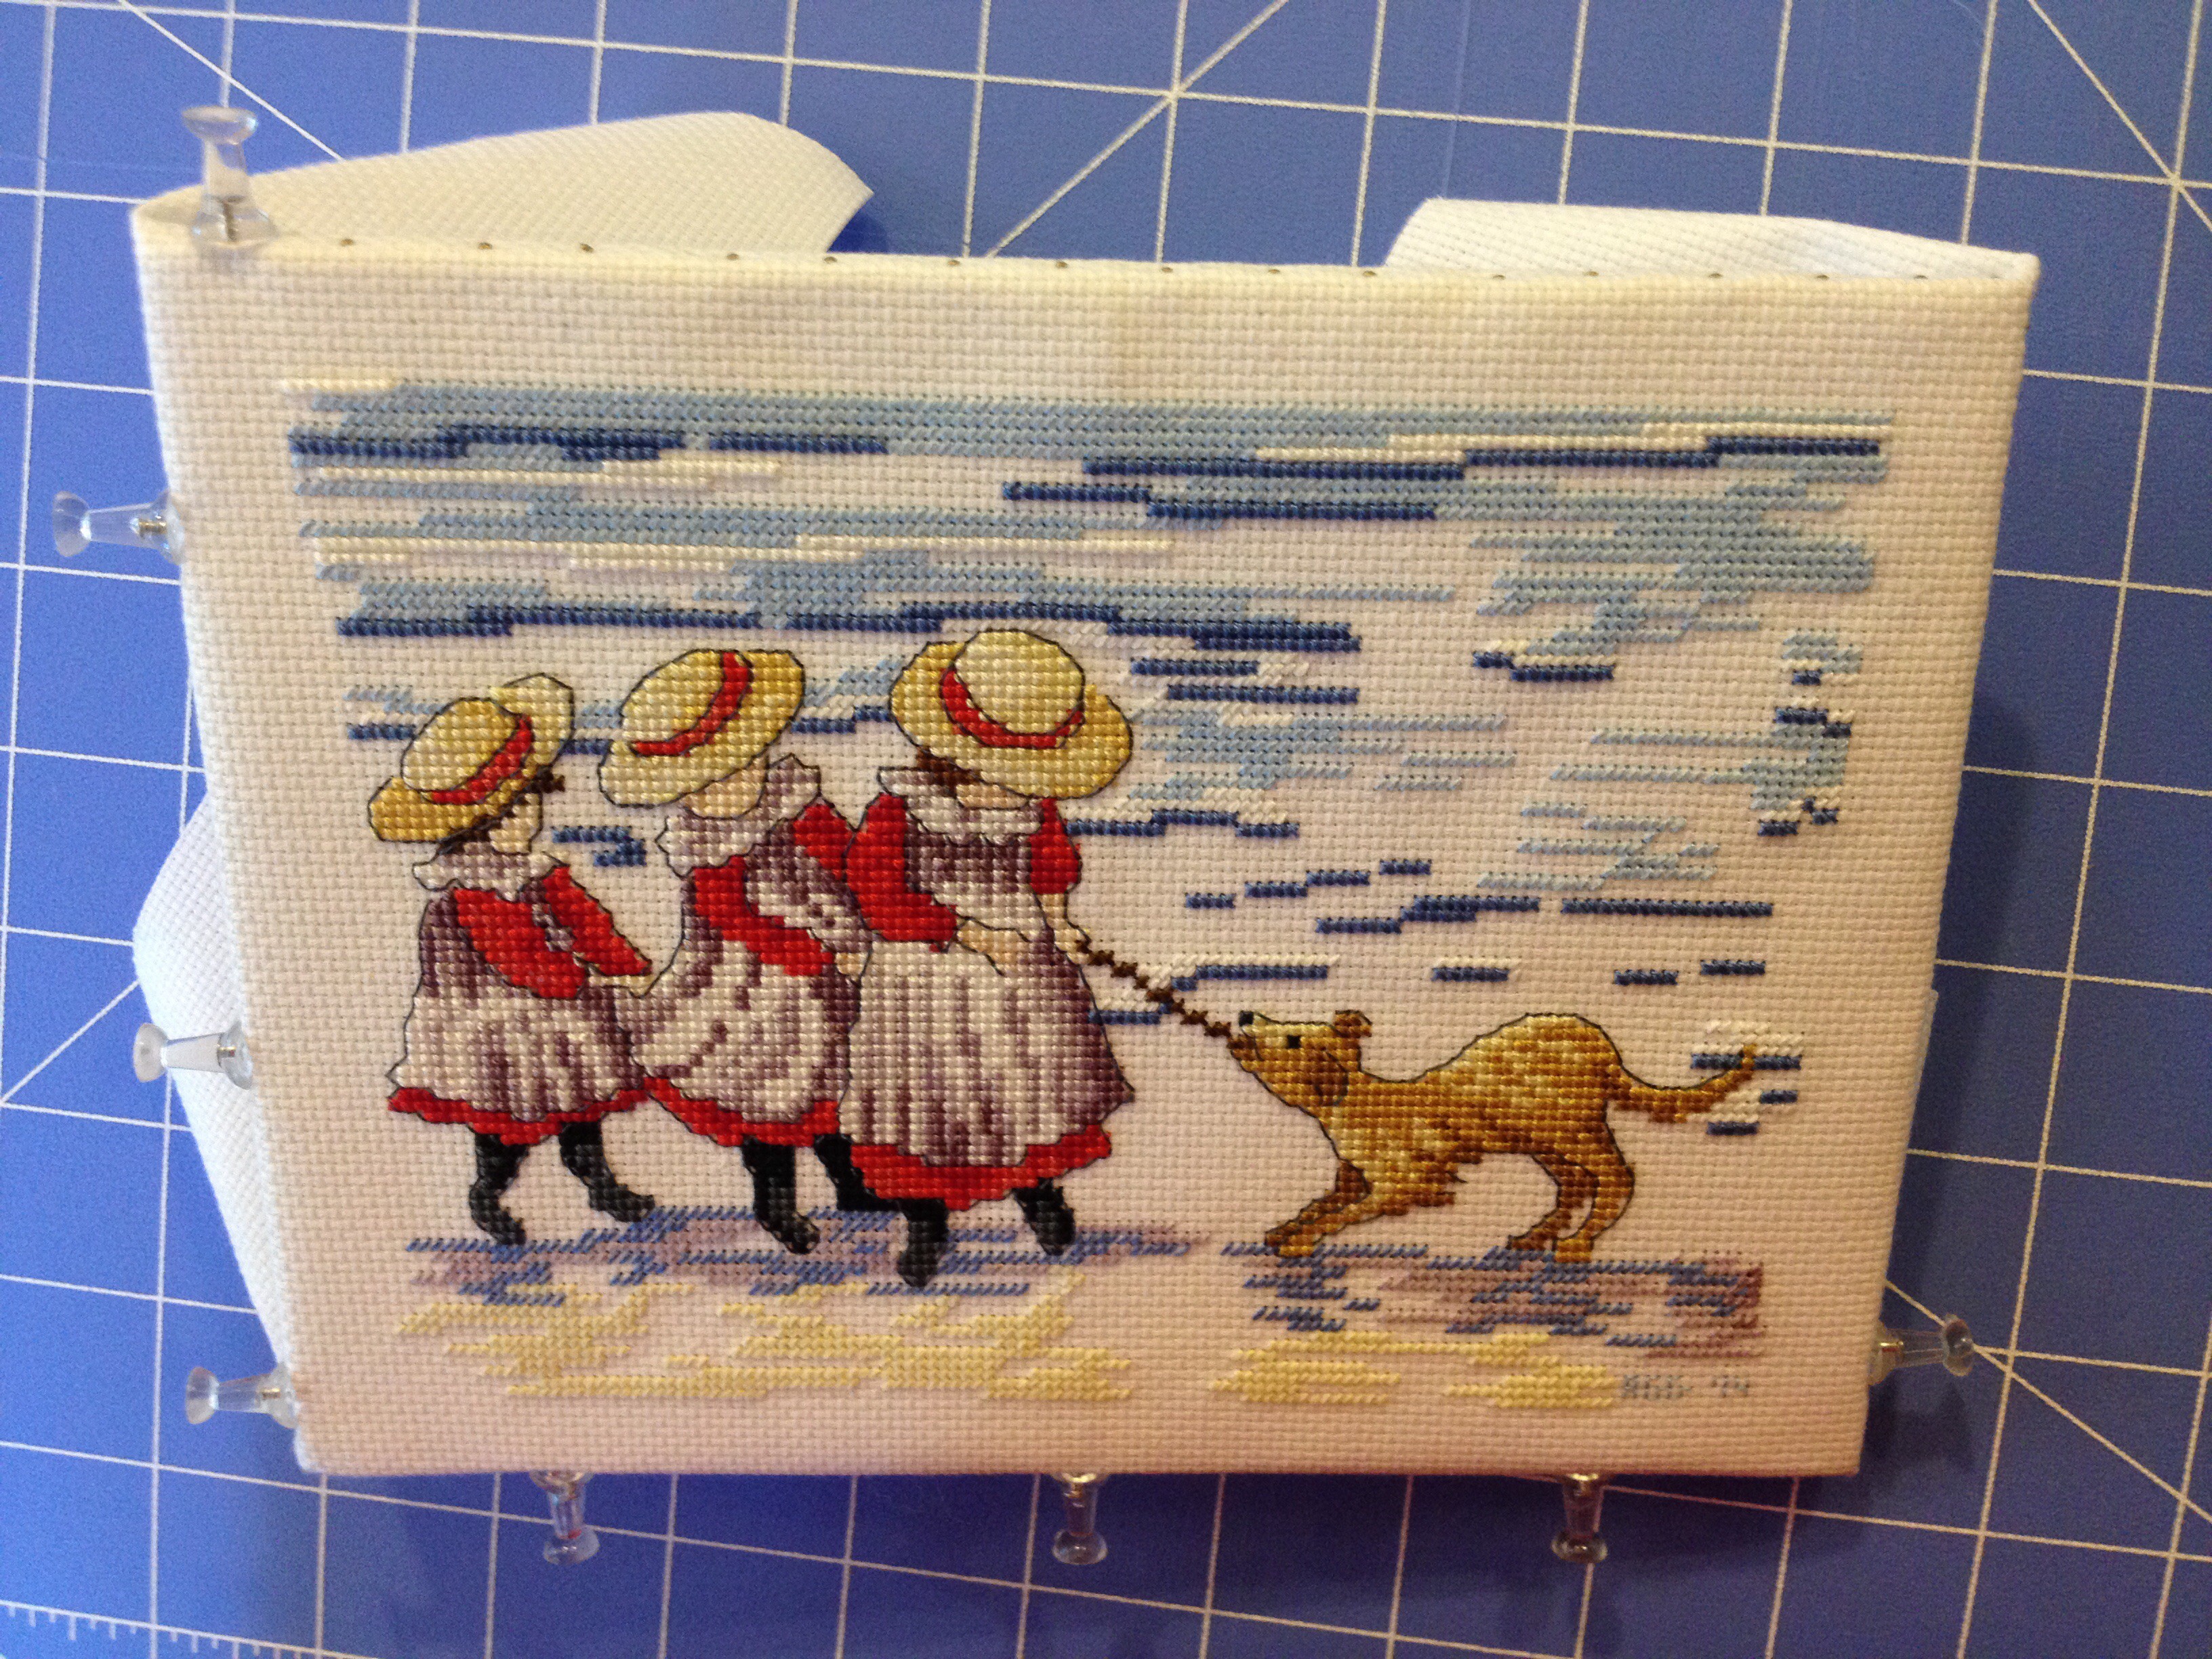
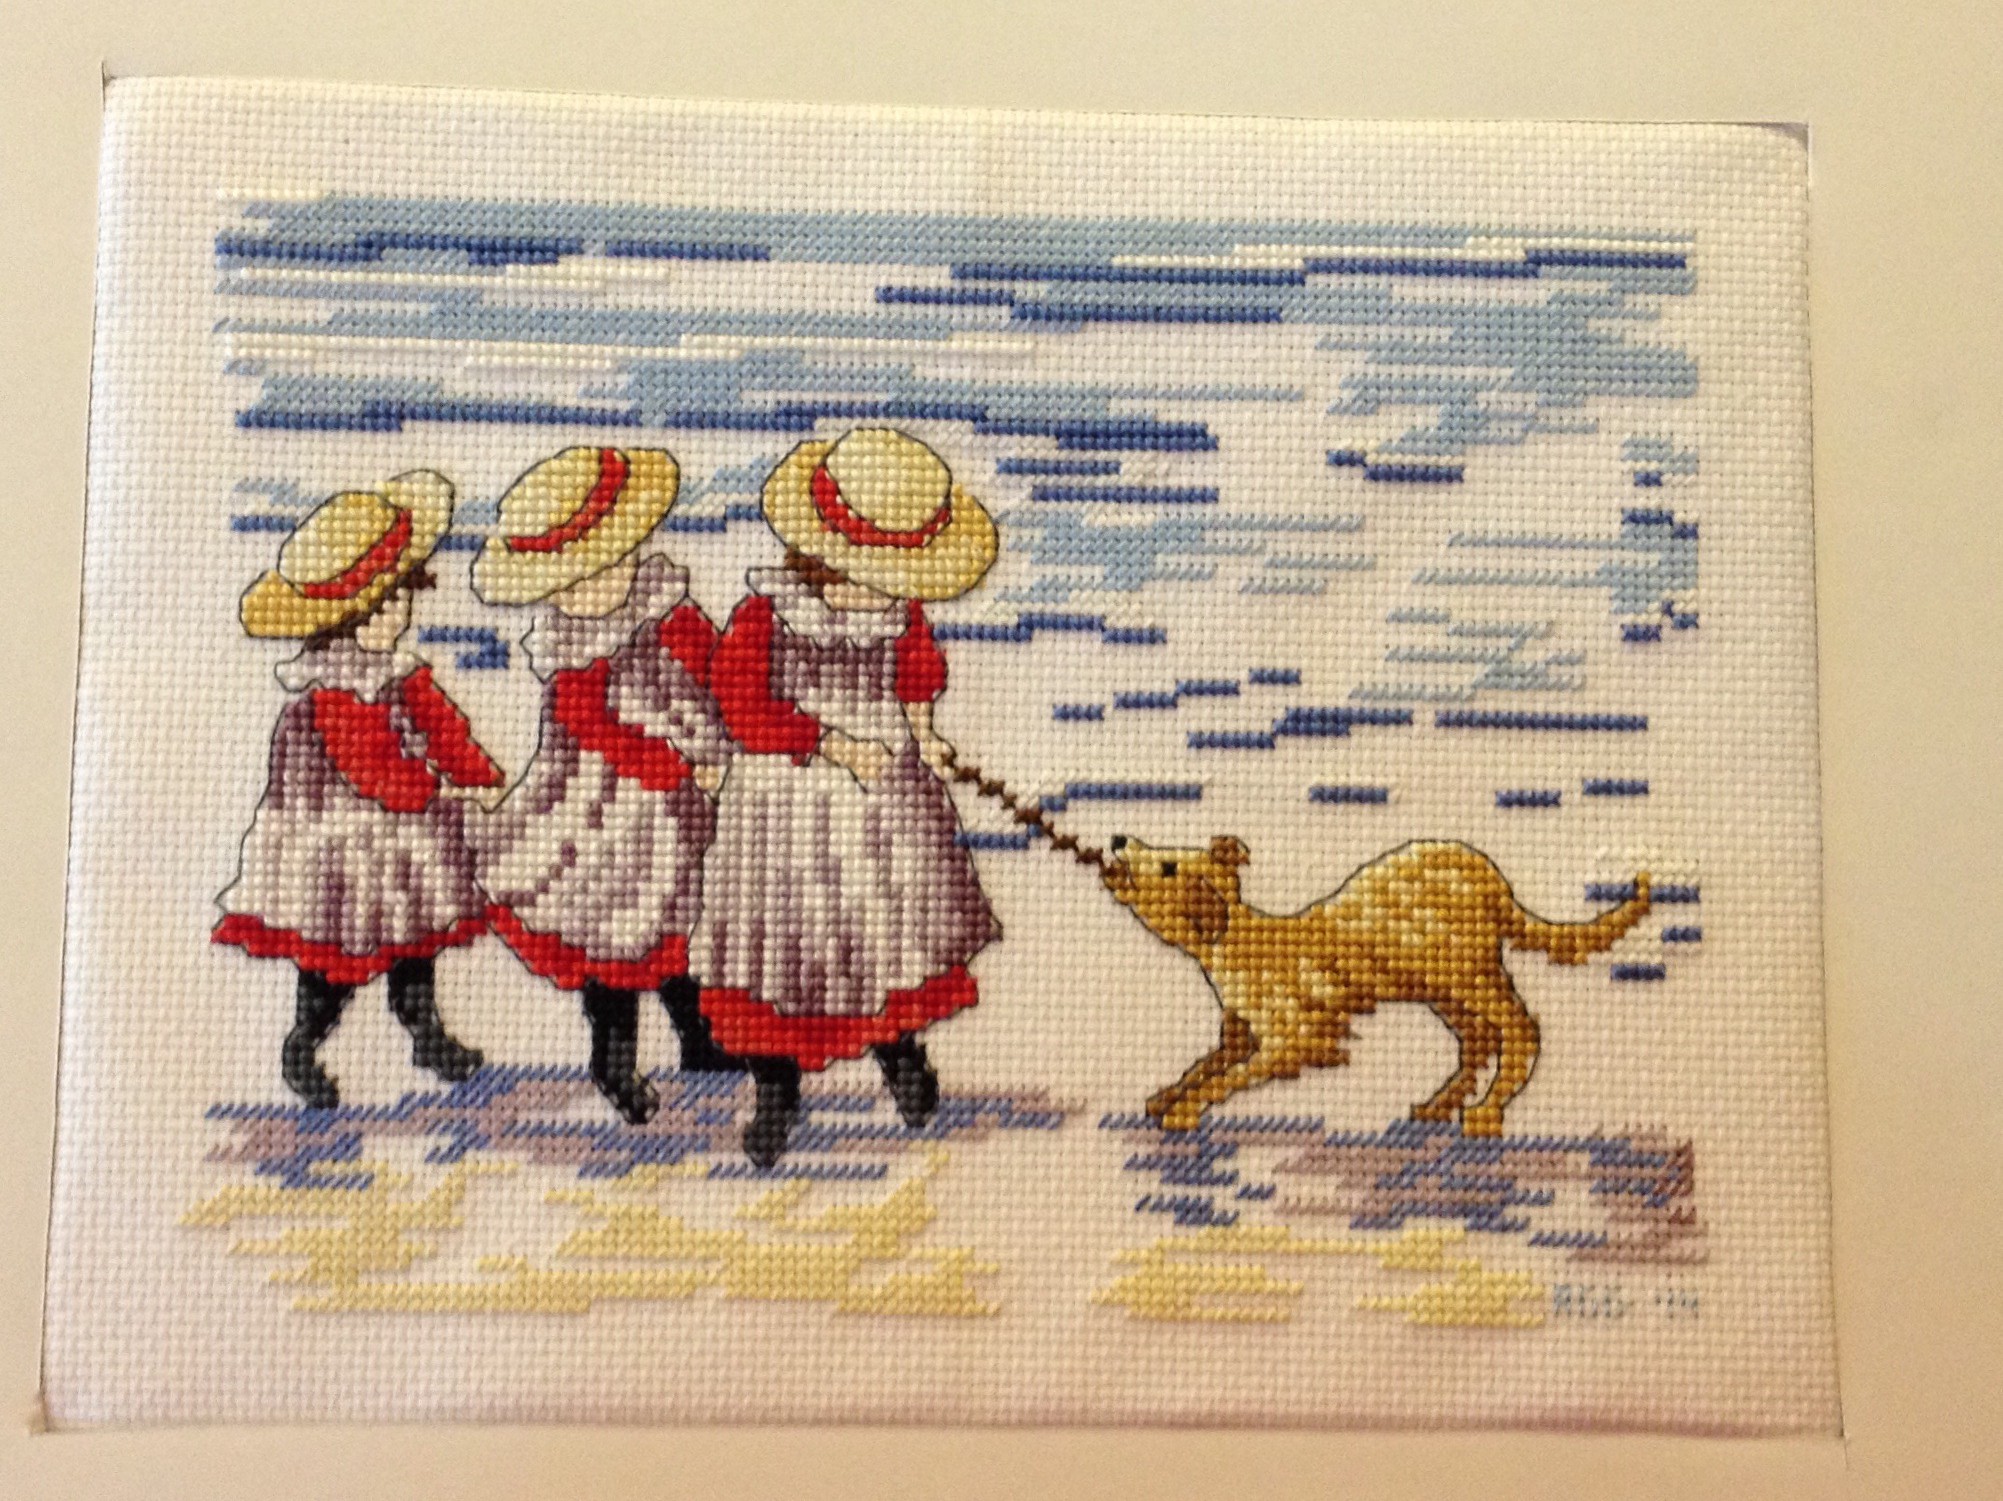
I love (LOVE, LOVE) looking at photos of beautifully done cross stitch. So for me, this one is huge. Cross stitch eye candy is a great way to get motivated.  I spend a few minutes reading some favorite cross stitch blogs, clicking away on Pinterest or browsing any of my favorite cross stitch supply sites, and I am motivated to get to work! One word of caution: if you’re easily sucked into internet browsing, you may want to be careful that you don’t get so engrossed in your inspiration that you never actually pick up a needle. 😉  And this brings us to item 2…


2. Set aside 15 minutes


Sometimes at the end of a long day, the idea of working on a project (especially a big project) is overwhelming.  I’m exhausted and cross stitching can feel like one more thing to do.  I’ve found that just sitting down and stitching for 15 minutes gives me a sense of accomplishment that can break through a period of low energy.  Sometimes I’ll actually stop after 15 minutes – a few threads are enough.  Other times I get drawn in and will stitch for longer.  But either way, committing to just a few minutes can help break the block.


3. Make it easy


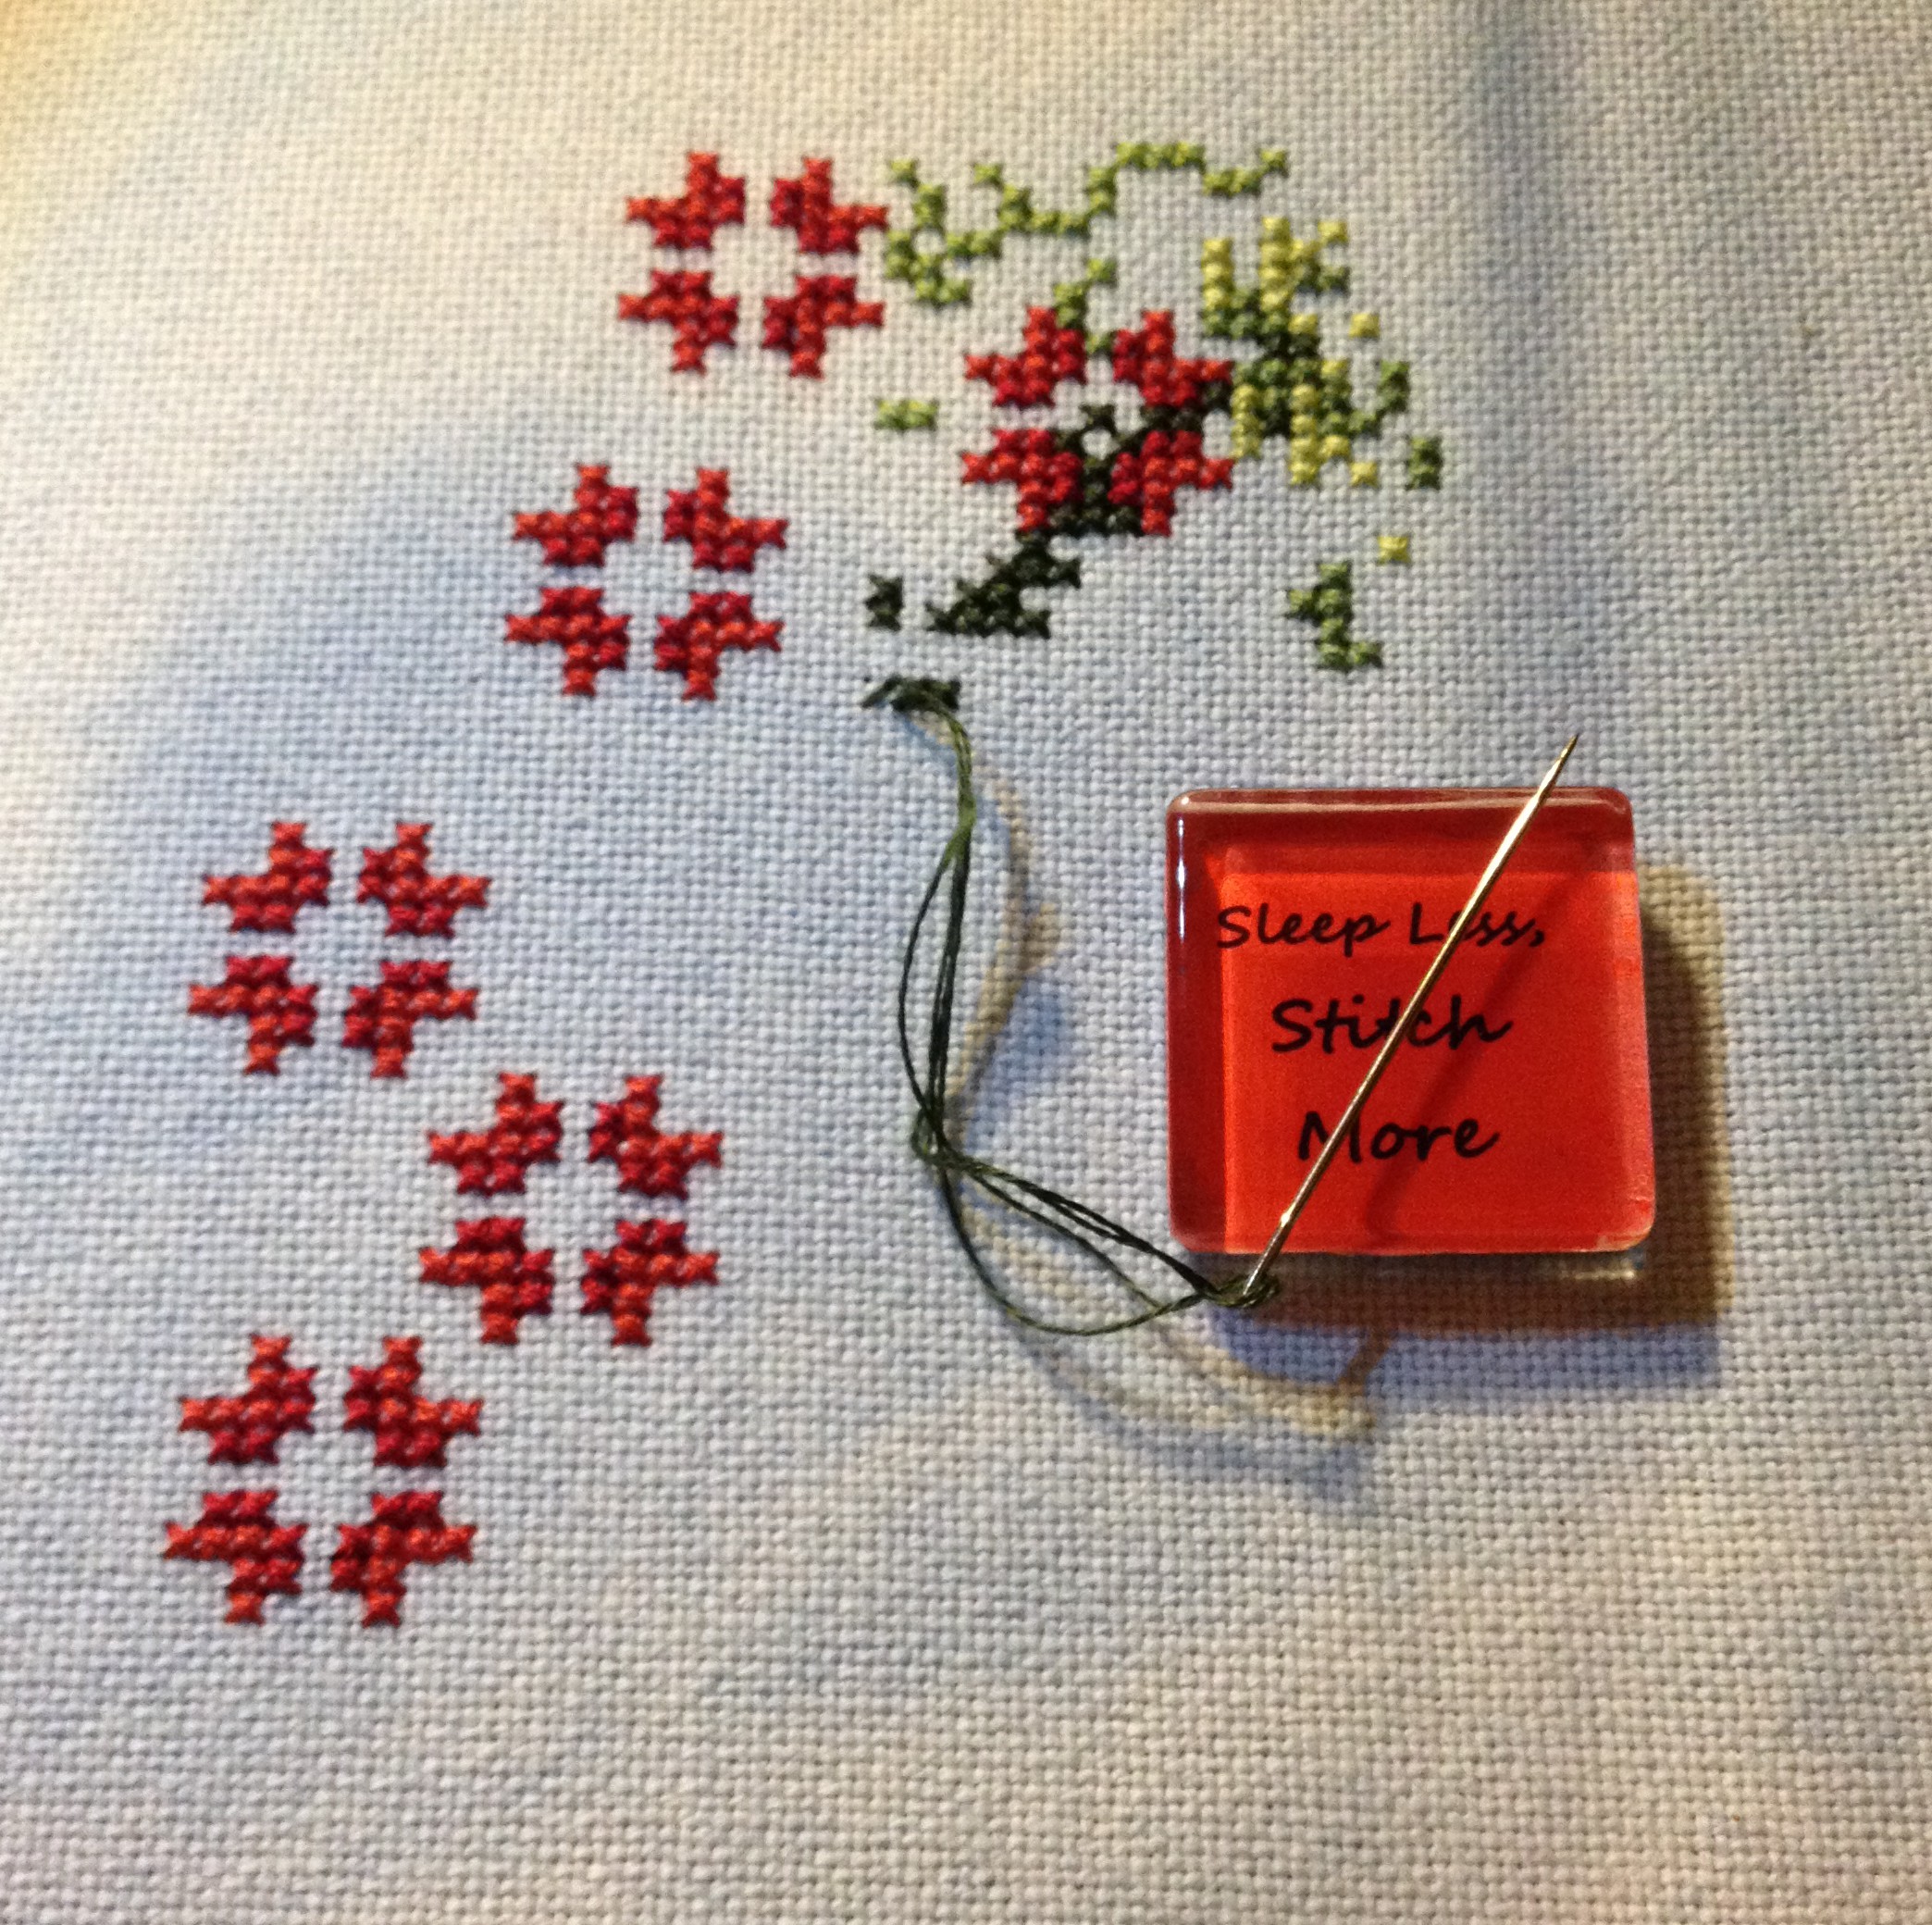
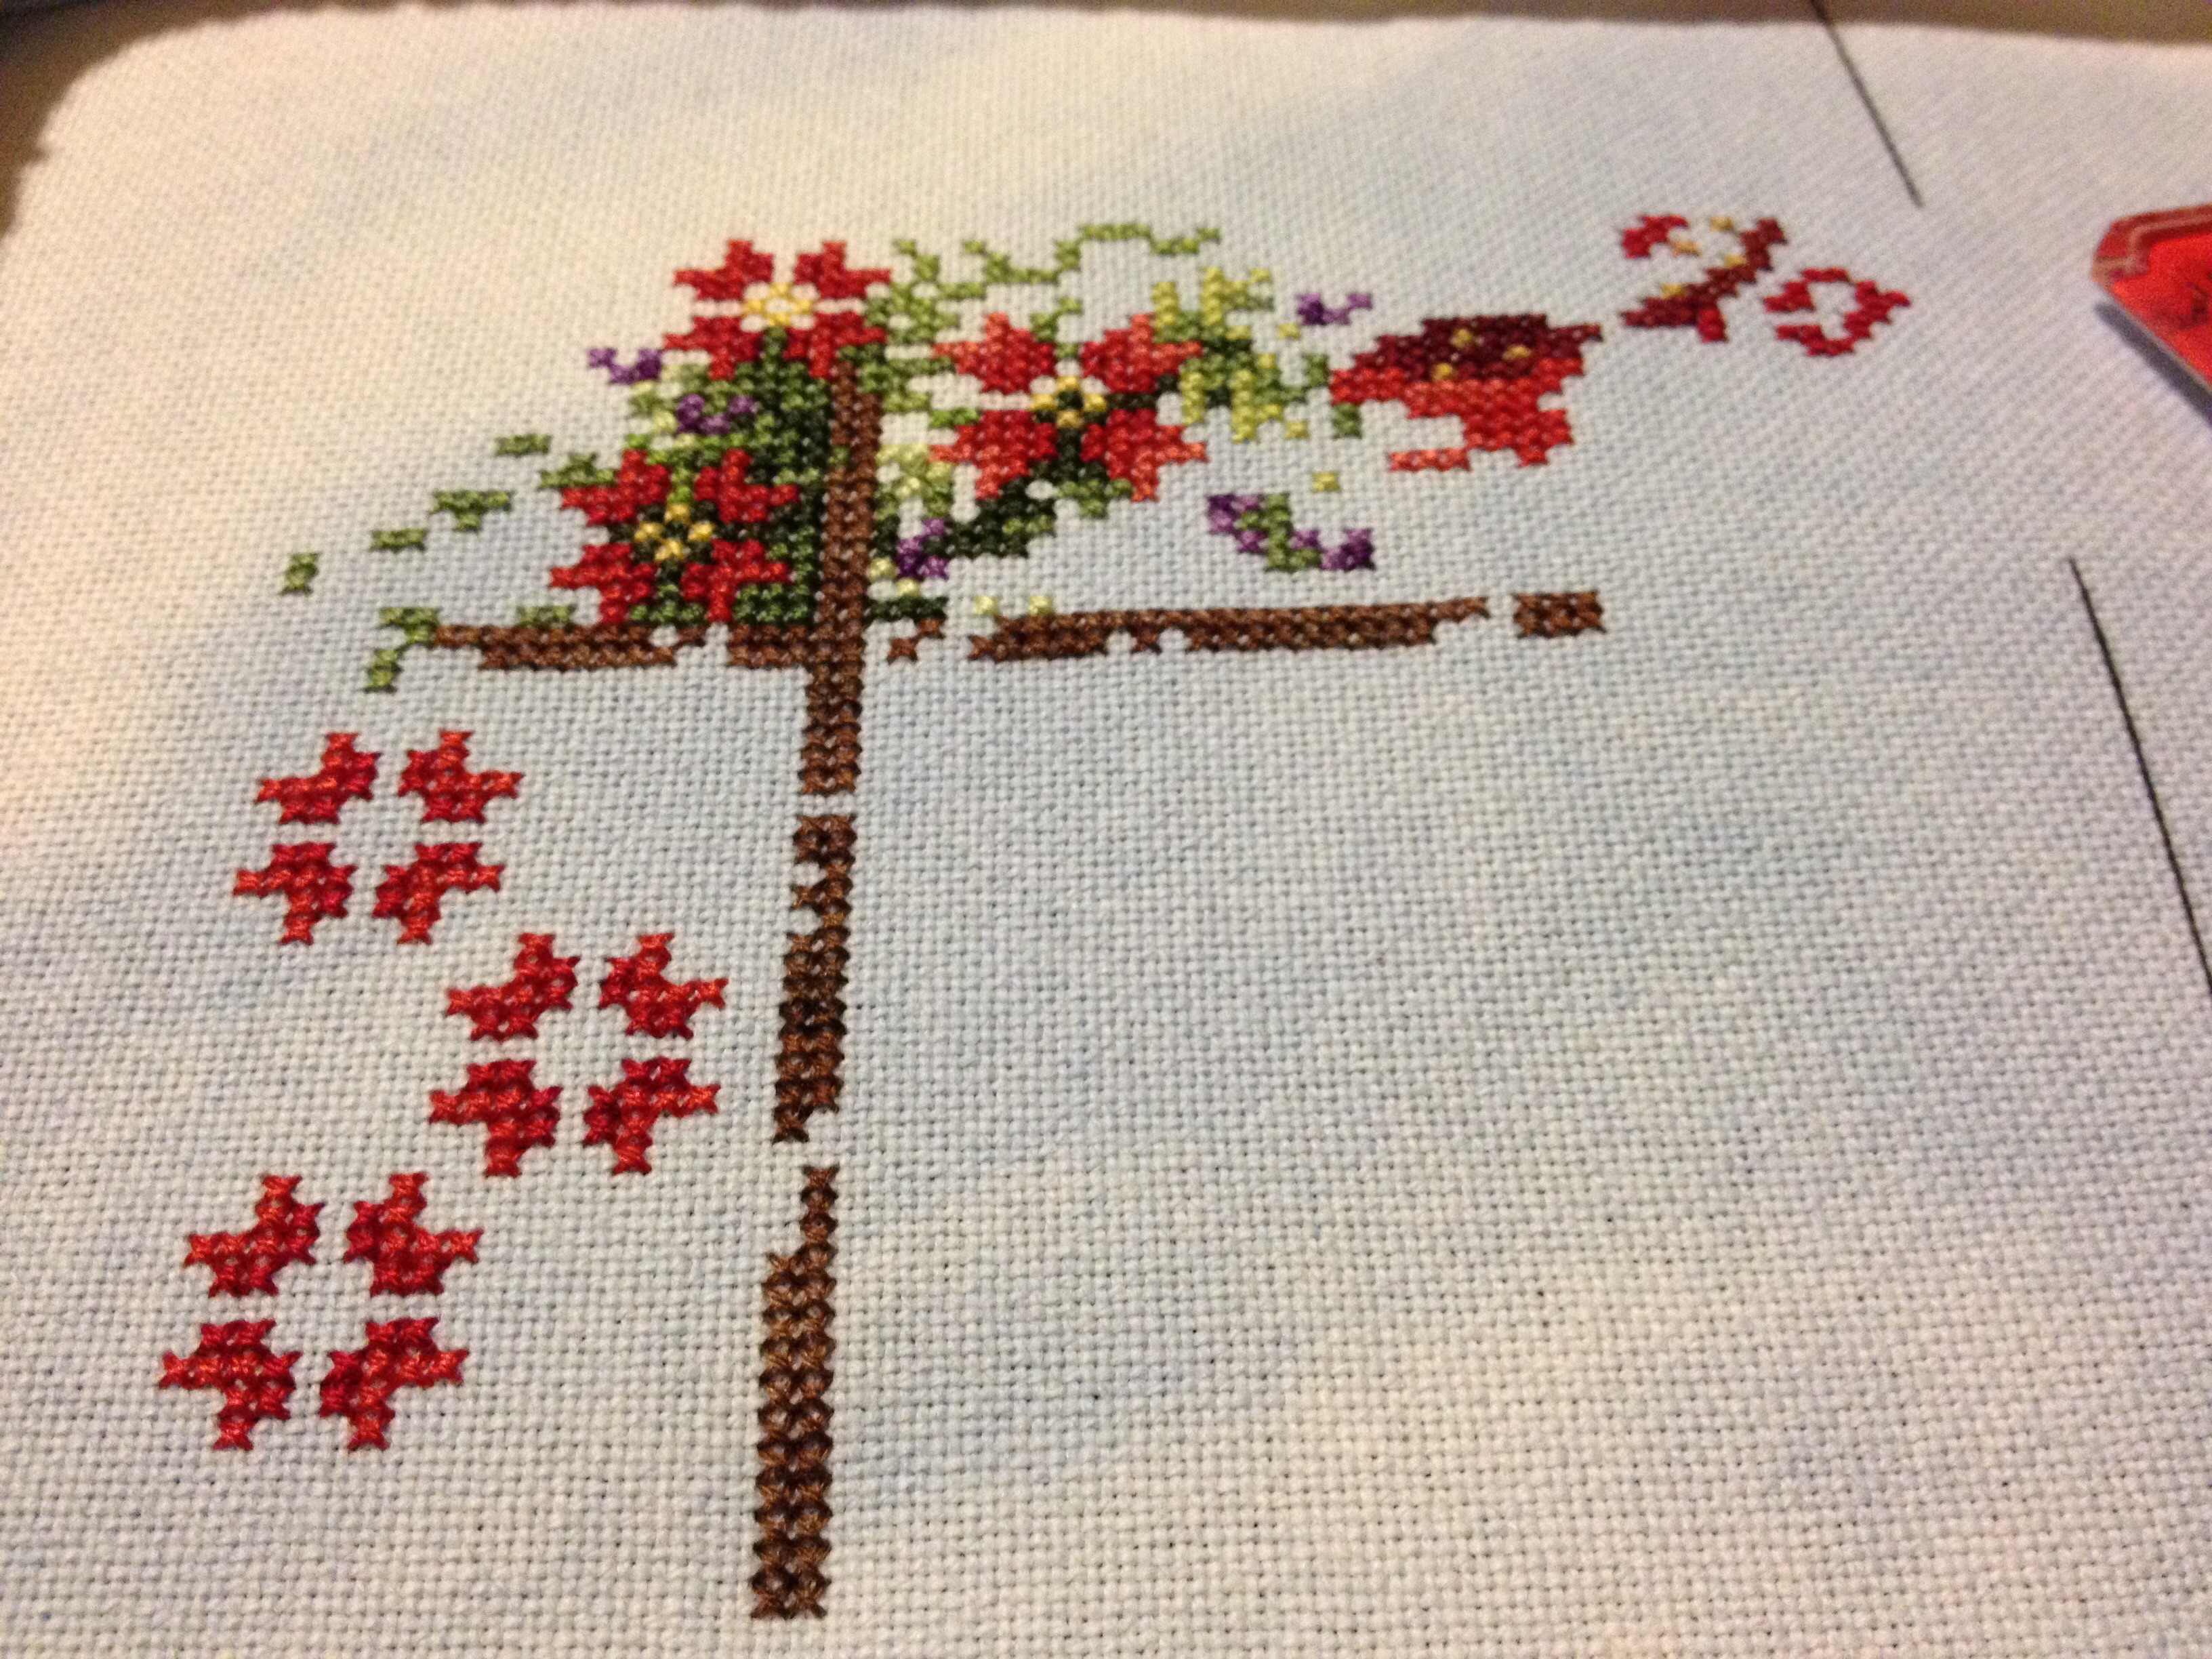
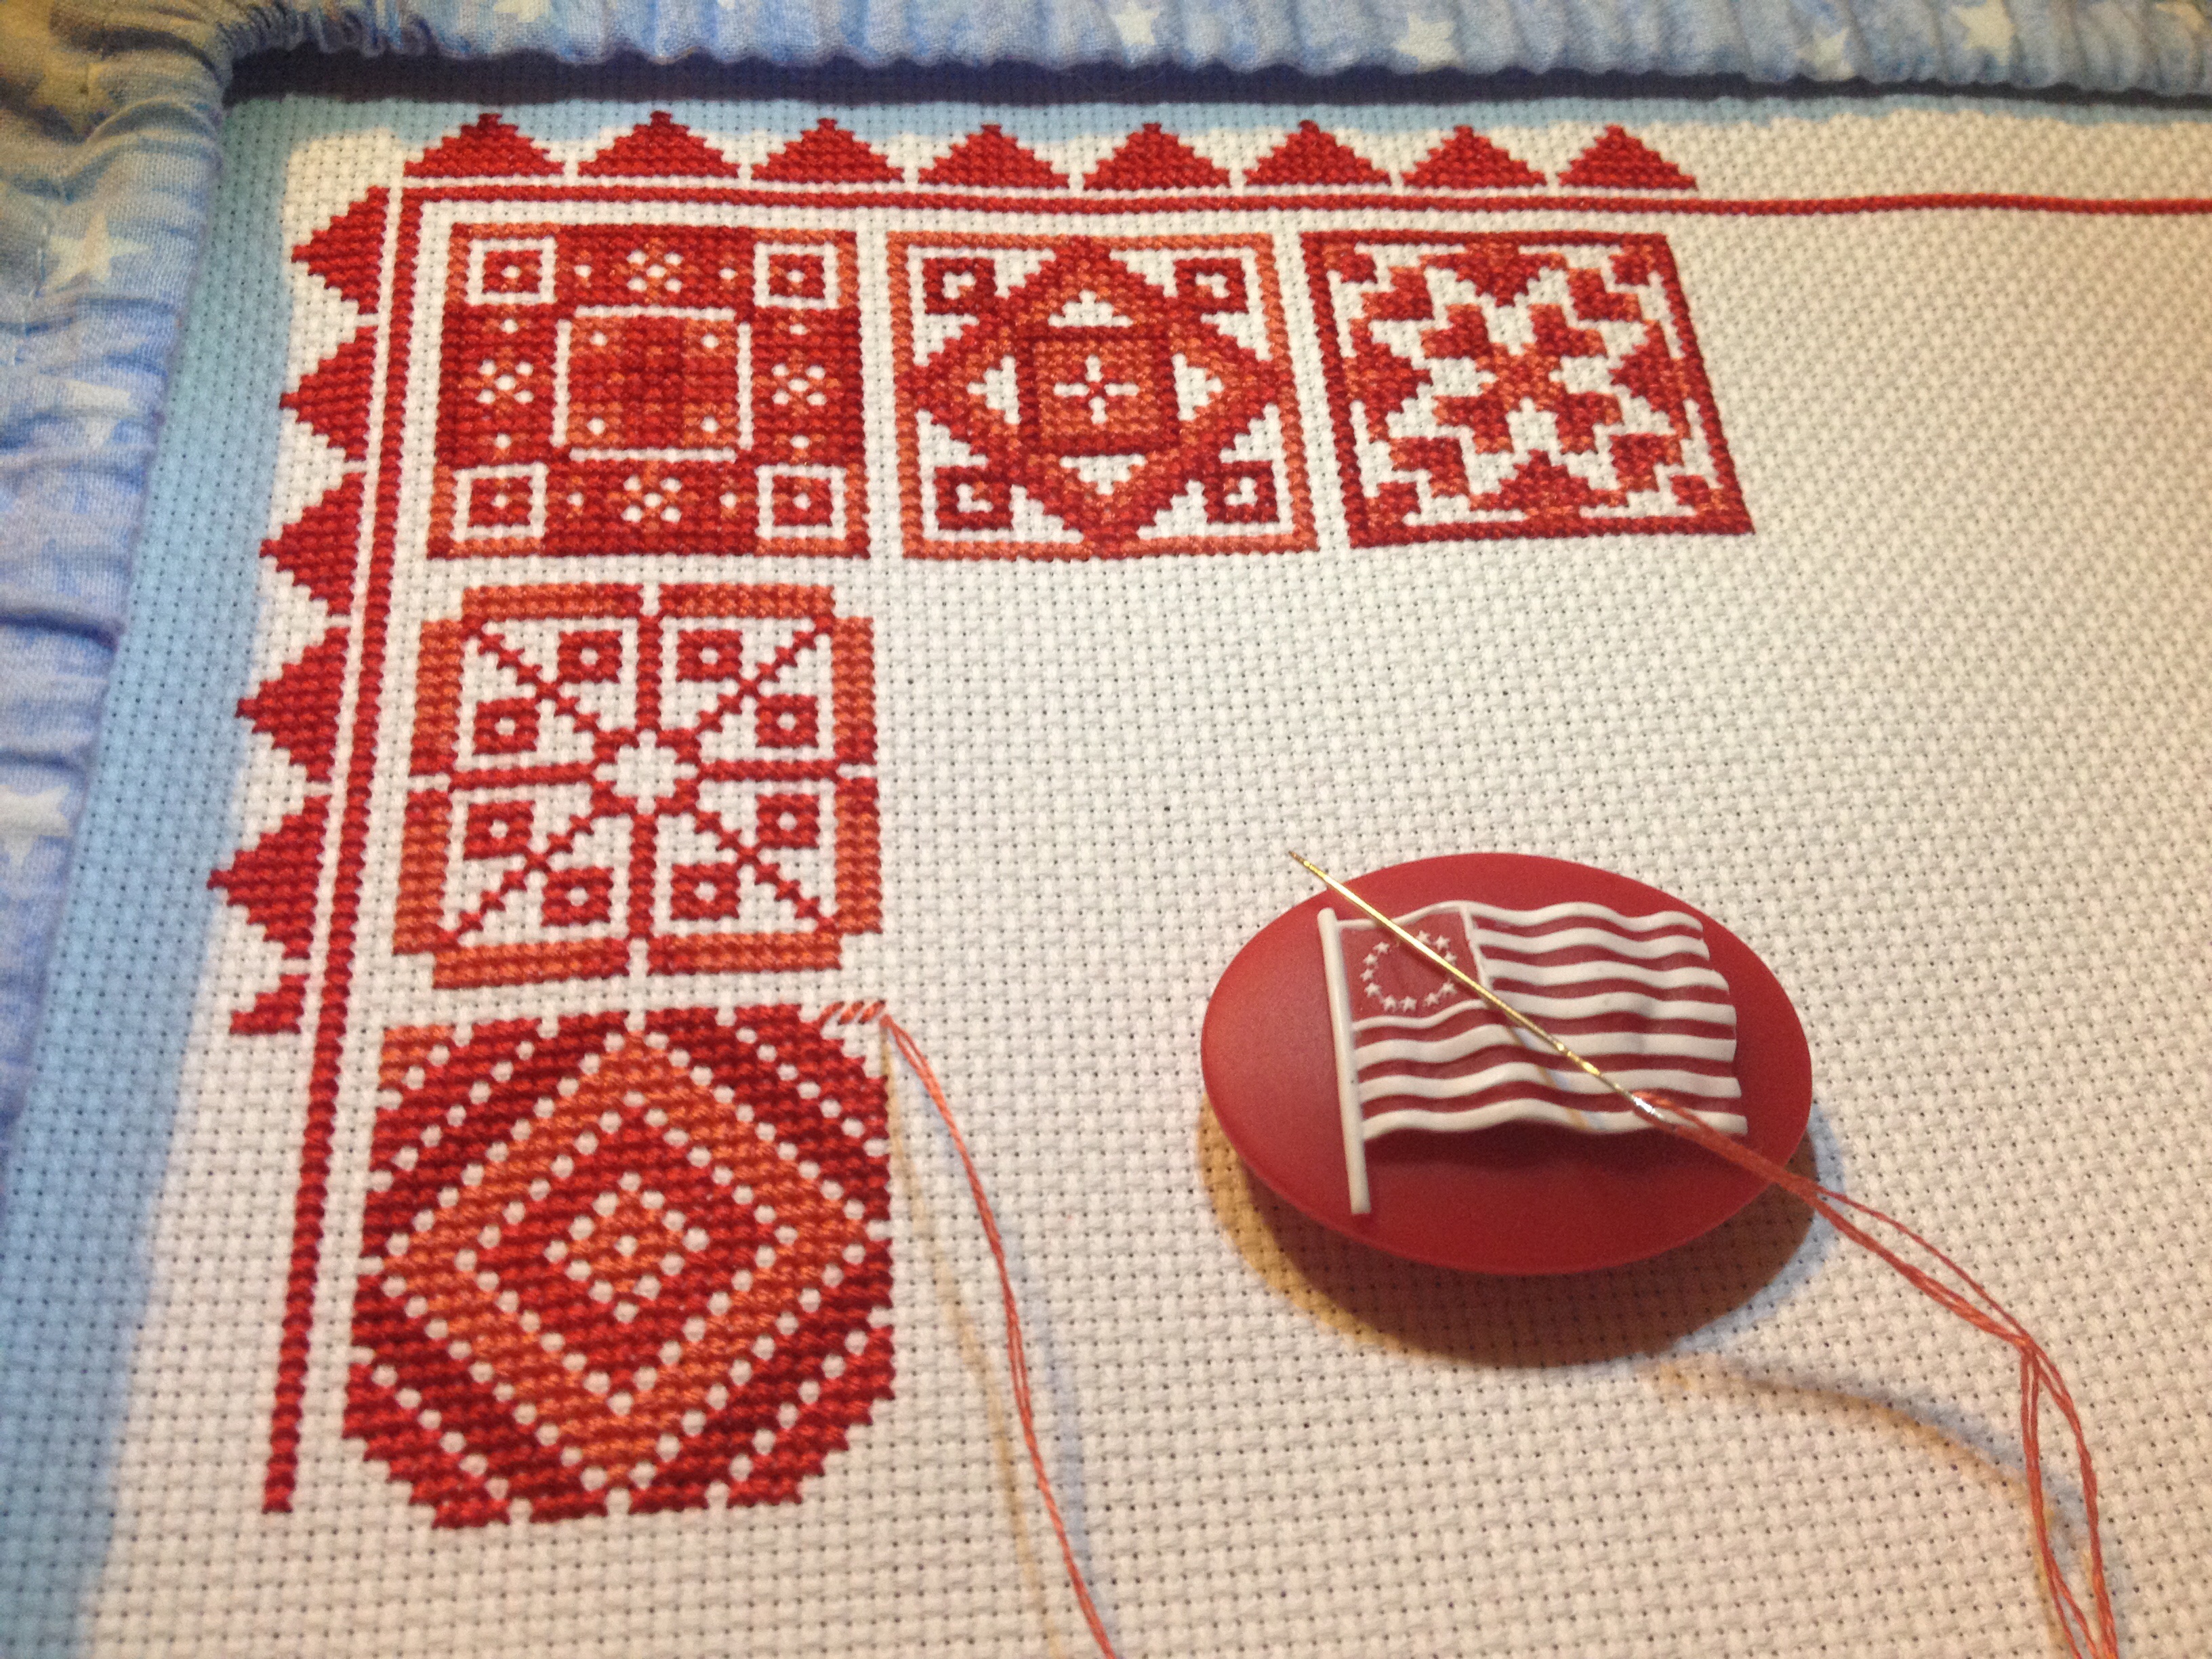
If you know you have to dig through your stash (or even hunt all over the house!) to find what you need in order to get stitching, it’s going to be a lot more difficult.  Keep all of the items you need to do a project (and I mean everything!) in one place, preferably near your favorite chair!  I keep a small project bag for each cross stitch or embroidery I am working on.  My project bag has the work in progress, the appropriate hoop or frame, a binder with the floss and pattern, and a small kit with scissors, needles, a needle minder and a pen or highlighter.  I also use a small light that hooks onto my hoop or frame and I keep this and a pretty glass jar for my orts (leftover floss) within easy reach of my chair.  I keep all of My project bags in the living room, near my favorite chair and am currently on the lookout for a nice basket for them…


4. Clean out your stash 


Mess and clutter can be overwhelming.  For me, I have noticed that being surrounded by clutter is a major energy drain.  If look at my cross stitch stash / supply storage and feel overwhelmed by the clutter, this can drain my creative energy.  Why not use a case of stitcher’s block as a chance to clean out? As you go through your stash, perhaps you’ll find a work in progress that you’ll be inspired to finish!  Or maybe you can use this as a time to set up your project bags.


5. Use a binder, journal or online organizer


Besides cleaning out your cross stitch stash, another way to battle a feeling of being overwhelmed is to use a cross stitch journal, binder, or online organizer.  Personally, I use Evernote to organize many things in my life and it could definitely be used as a project journal.  For my stitching projects, however, I prefer a paper binder.  I have  pages for projects, wish lists, inventories and ideas/sketches for projects I’d like to design.  If you are the type of person who loves to organize or record things, this might work for you.  Whether you prefer digital or paper, try a cross stitch journal and see what you think!


6. Make a wish list


Whether this is a paper wishlist in your cross stitch journal (see #5 above) or an online wishlist at your favorite stitching supply website, try a little window shopping and see if this gets the creative juices flowing! I love to check out my wishlist periodically, update the patterns and fabrics I’d like to have someday, remove patterns that no longer appeal to me, etc.  Inevitably when I’m through browsing I want to pull out a project and stitch away!


These are some ideas that have worked for me.  What about you?  What do you do to help during periods of low energy?

Stitching Outside the Box: 1st try at freestyle

Thanks to the wonders of the internet and all the beautiful embroidery on Pinterest, Etsy, etc., I’ve been itching to try freestyle hand embroidery for some time.  While I’ve cross-stitched since I was a child, I’ve never tried any other type of embroidery, and the idea of being able to stitch more free-form really appeals to me.  So I snagged a discount copy of “The Stitch Bible” by Kate Haxell at an after Christmas sale in January and started searching around for my first pattern to try.

While I love the idea of creating an original piece (as in, drawing a pattern, tracing it, choosing colors, etc.), I decided that for my first time out I wanted to try something a bit easier.  After drooling over patterns on Etsy for several days, I settled on a design by a lovely shop called Clementine Patterns and purchased an easy sampler called “Bless the Lord.”  Their patterns come already printed on a piece of cotton fabric (saving me a step for my first project), along with a guide which suggests what stitches you might use and some possible colors.  It all comes in a lovely little package with a color print of the model.

My first step was to choose colors.  I stuck fairly close to their model, but my colors tend more to jewel tones.  Here they are:

My colors for "Bless the Lord"

My colors for “Bless the Lord”

So far, I’ve really enjoyed myself.  It takes a bit more concentration that cross stitch in order to keep the stitches even, so I’m doing it in small doses.  Here’s what I have so far.

image

image

I also purchased a more difficult sampler at the same time.  If I make it through both of those, I’ll feel ready to take on a more complex project.  🙂

Jumping Around, and Heart of Christmas Update

The main reason I started this blog was because none of my offline friends are into stitching.  I wanted a place to share my work, admire others’, and learn and grow as a stitcher.  In the short time I’ve been here, I’ve already seen so many interesting projects and techniques I want to try.

One thing I’ve found intriguing as I look at others’ work is the variety of choices people make about the order in which they stitch.  Some people work in blocks of a certain size (for example 10×10), others work in horizontal rows or vertical columns and still others work through their color chart one at a time.  I’ve seen beautiful examples of all these techniques.  Personally, I’m not so structured.  I love to hop around a bit as I stitch.  For me, part of the fun is to look at the pattern and decide where I’ll go next.  I love to strategize to try to keep the back of the work as neat as possible, and have the fewest spots where I hop the thread from one place to another.  I don’t use knots at all, so I also have to strategize where I’ll start and stop each thread so it can be tucked under.  And all of this while trying to waste as little thread as possible.  For me, this is huge part of the fun.

Having said that, I have an update on Heart of Christmas where this hopping is evident.  I do tend to work roughly upper left to lower right, but within that framework, I “jump around” to my heart’s content 🙂

"Heart of Christmas"  Can you see the snowman starting to emerge?  Love his colorful scarf!

“Heart of Christmas” Can you see the snowman starting to emerge? Love his colorful scarf!

Now off to tuck in the littles and pull out my project binder.  Happy stitching!


WIP: Heart of Christmas Update

Last week I posted a new project start: Heart of Christmas by Stoney Creek.  Here are a few progress pics.  The section I’ve done so far is lots of confetti stitches of various colors (I’ll be glad to get into some nice blocks of color).  But it’s coming together nicely.  You can see the poinsettias with their surrounding greenery, and the teensiest bit of the red bow starting to emerge.

First stitches.  I stitched the poinsettias first to have an easy reference when I started the greenery.

First stitches. I stitched the poinsettias first to have an easy reference when I started the greenery.

A bit of greenery.

A bit of greenery.

Flowers, greenery, trellis and a bit of a red bow in the upper right.

Flowers, greenery, trellis and a bit of a red bow in the upper right.


New project and a scissor tip tip

Last week I posted about my finish of Faith Hope Love by Joyful Expressions.  This left an open spot in my rotation.  Joy of joys!!  Just think of the possibilities!!  After seeing so many lovely WIPs on stitching blogs I follow, I decided I wanted to tackle a slightly bigger or more complex project.  The others I have going right now are fairly simple and with just a few colors.  For quite some time I’ve had my eye on “Heart of Christmas” by Stoney Creek.  I know we’re coming into spring and I have no idea why I am so drawn to a Christmas pattern except it has so many beautiful bright colors!  You know how I love to stitch bright colors.

Sadly, I don’t have a local needlwork shop within an hour of me, so I do a lot of ordering online.  In this case, once I got on the Stoney Creek website, I had to order a few specialty threads and buttons to go with the pattern… and I just couldn’t resist the winter edition of their magazine… and a subscription.  Sigh.  So here’s the deliciously lovely pile of stuff that arrived a few days later.  I adore the ‘clear sky’ dyed fabric as a backdrop for the pattern, don’t you?

My package from Stoney Creek!

My package from Stoney Creek!

On a totally unrelated note, I wanted to share a tip to keep your scissor tips sharp and undamaged, as well as to keep them from poking other items in your project bag.  I’ve been using knitting needle covers, which can be purchased inexpensively from most any craft store, on my scissor tips!  Here’s a photo of a few of the tool kits in my various project bags.  (I buy the plastic containers, which are meant for scrapbooking, when they go on clearance at the big box craft store):

image

What’s your favorite project bag or cross-stitch-stash tip?  As you can see, I love organizing almost as much as stitching 😉

Happy Stitching!

On motivation and a finish: Faith Hope Love

The past few months at work have been stressful.  And for some reason, even though I find stitching at the end of a long day once the kids are in bed to be extremely relaxing, when I’m stressed I find it hard to pick up the project and get started.  I wonder why this is…  If I do manage to pick it up it helps me to relax, but it can be hard to find the motivation to get started.

Having said that, I did finish a piece last week called Faith Hope Love by Joyful Expressions.  I started it about a year ago when a friend had an online fundraising auction.  At the time I thought it would be a great piece to donate to something like that in the future and I wanted to have it on hand.  I stitched about half of it and then got sucked into other projects.  A few weeks ago, our church announced that they were going to have a fundraising auction and needed donations in two weeks time. Even then I procrastinated about a week before picking up the piece to begin frantically stitching away.  I was able to finish it just under the wire, though the lettering took me a bit longer than I’d planned.  I think it looks nice all framed up, and though I don’t imagine it will bring much money, I hope it finds a home where it will make someone smile.

Faith Hope Love by Joyful Expressions


What drew me to this piece originally was the colors!  Aren't they fabulous?

One thing that drew me to this piece originally was the colors! Aren’t they fabulous?

Now that I’ve finished the piece, I get the fun of starting a new one to replace it in my rotation.  I love this stage of a project… considering the choices and starting on a lovely brand new piece of fabric, full of possibilities!  I have a number of options in mind and will mull them over in the next few days.

Redwork Quilt update

Over the past week in Maine, we’ve had several major snowstorms and many feet of snow.  This has put me in a cozy mood in the evenings and I’ve done more curling up with my kindle than stitching… But I have made a bit of progress on Redwork Quilt, a project that I shared here.  Here’s a quick photo update.

Redwork Quilt... in progress

Redwork Quilt… in progress

Wherever you are, I hope you are cozy! Happy stitching.


Confession of a bright color stitcher

I have to confess, I hate stitching in white.  Or, more specifically, I hate stitching colors with a low contrast from the background.  Seriously – it drives me crazy.  That’s one of the things that drew me to this particular project, called “Redwork Quilt” by Ursula Michael.  I love the idea of stitching primarily in those bright reds!  The entire pattern has only four colors: three shades of red… and white.  Sigh.  As you can see from the photos, I haven’t yet stitched all the white background within the quilt blocks.  I’ll have to do some soon.  I’m hoping the fact that I can just fill in the blank spaces with white without having to count or think too much will maybe make it a bit more satisfying.  We’ll see…

2 blocks of 'Redwork Quilt'

2 blocks of ‘Redwork Quilt’

When complete, the design is a border of 16 quilt blocks surrounding a backstitched birdhouse scene.  I am making it as a gift for someone whose kitchen is decorated in red.  However, I’m not totally crazy about the scene in the middle and may decide to do something different when I get to that point.  In the meantime, I’m enjoying stitching the blocks.


‘Tug of War’ Cross Stitch with 3 little girls

So to start off my blog, I thought I’d share a little cross stitch project I recently finished.  I made it as a gift for my brother and sister-in-law who have three girls and three dogs.  Sadly I forgot to take a picture of it all framed up, but it looked nice with a sand colored mat and a green weathered-wood frame.  Below are some progress pics as well as some pics of the framing in progress.

in progress - three little girls and the dog

in progress – three little girls and the dog

a close up of the cute little pup

a close up of the cute little pup

With some background added

with some background added

partially pinned

partially pinned

all pinned and ready for framing

all pinned and ready for framing

Pattern Info: “Tug of War” from All Our Yesterdays Cross Stitch Collection by Faye Whittaker in association with DMC